Mint Oreo Icebox Cake is a delicious summer treat that’s also so easy to make it, requiring no baking. It’s perfect for summer picnics and barbecues, and makes a great snack after dinner (your kids and your family will love it).
Mint Oreo Icebox Cake is suitable for beginners as it requires no baking skills. My recipe is also adaptable for lighter diets, so I’ve included some substitutions to make this cake healthier, such as replacing the cream cheese with low-fat cottage cheese, etc.
To prepare this easy recipe, you will need mint Oreo cookies, heavy whipping cream, powdered sugar, cream cheese, and vanilla extract. It’s a very refreshing, delicious, and easy-to-make cake, even if you rarely bake desserts.
Recipes You May Also Like
Ingredients
Yield: 8 Servings
- Mint Oreos – 1 family-size package (40 cookies)
- Heavy whipping cream – 2 cups (very cold)
- Cream Cheese – 8 oz (softened to room temperature)
- Powdered Sugar – 1/2 cup
- Vanilla Extract – 1 teaspoon
- Milk – 1/4 cup (just for briefly dipping the cookies)
- Green food coloring – 3 drops or more (liquid or gel food coloring works great, also this is optional)
Suggestions & Alternatives:
- Healthy – Substitute cream cheese for low-fat cottage cheese or plain Greek yogurt.
No-Bake Mint Oreo Icebox Cake

Here you'll find the ingredients and easy steps to prepare a delicious and refreshing Mint Oreo Icebox Cake. It features mint chocolate cookies and a whipped cream cheese filling. It's a good dessert to make ahead for warm summer days, parties, or family dinners.
Ingredients
- 1 family-size package Mint Oreos (40 cookies), also leave a few crushed Mint Oreos for topping
- 2 cups heavy whipping cream, very cold
- 8 oz cream cheese (Softened to room temperature)
- 1/2 cup powdered sugar
- 1 teaspoon vanilla extract
- 3 drops or more of green food coloring (Optional)
- 1/4 cup milk
Instructions
- In a large bowl, whip the heavy whipping cream until stiff peaks form, then set aside.
- In another bowl, whisk together the cream cheese, powdered sugar, vanilla extract, and drops of green food coloring (Start with just a few drops, add more if you want a lighter color) until the mixture is smooth.
- Using a rubber spatula, combine the whipped cream with the cheese mixture. Gently fold until the cream is light.
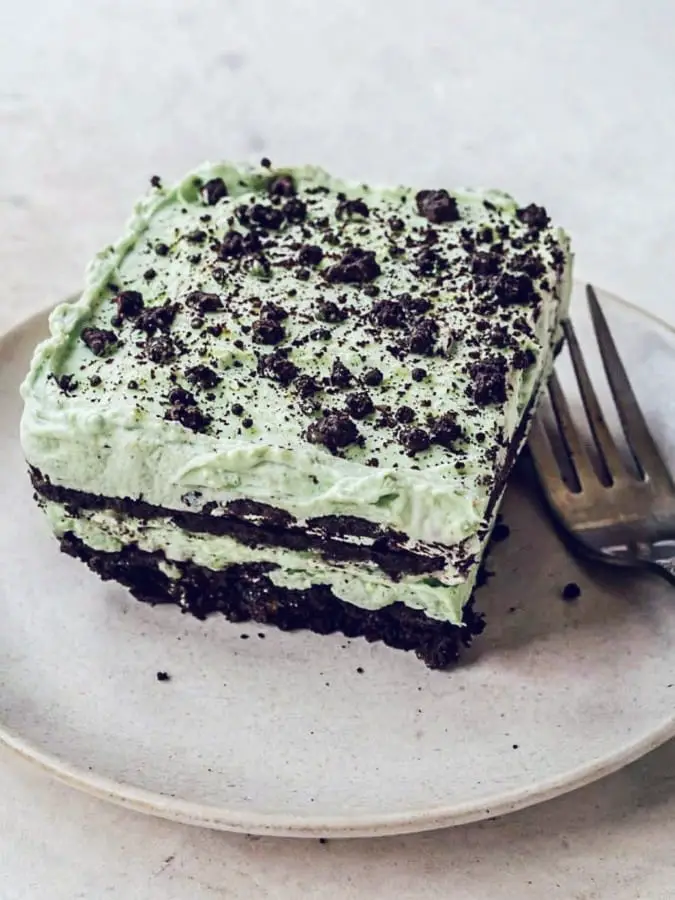
- Dip each biscuit in the milk, then arrange them in a single layer in an 8x8-inch square baking pan(Don't soak them just dip them)
- Spread one-third of the cream over the biscuit layer.
- Repeat the process with another layer of dipped biscuits and a layer of cream at the end.
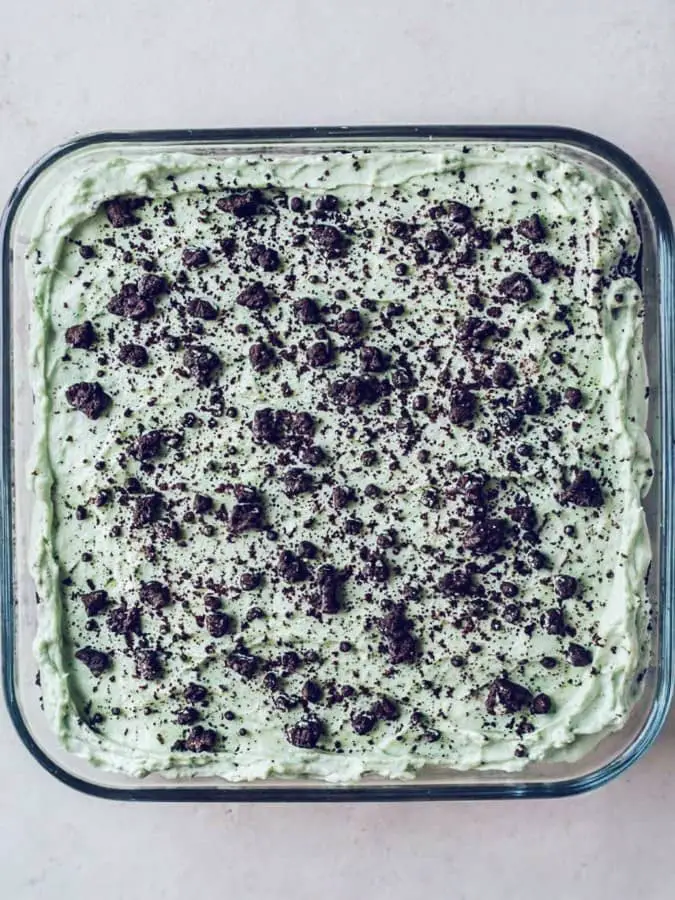
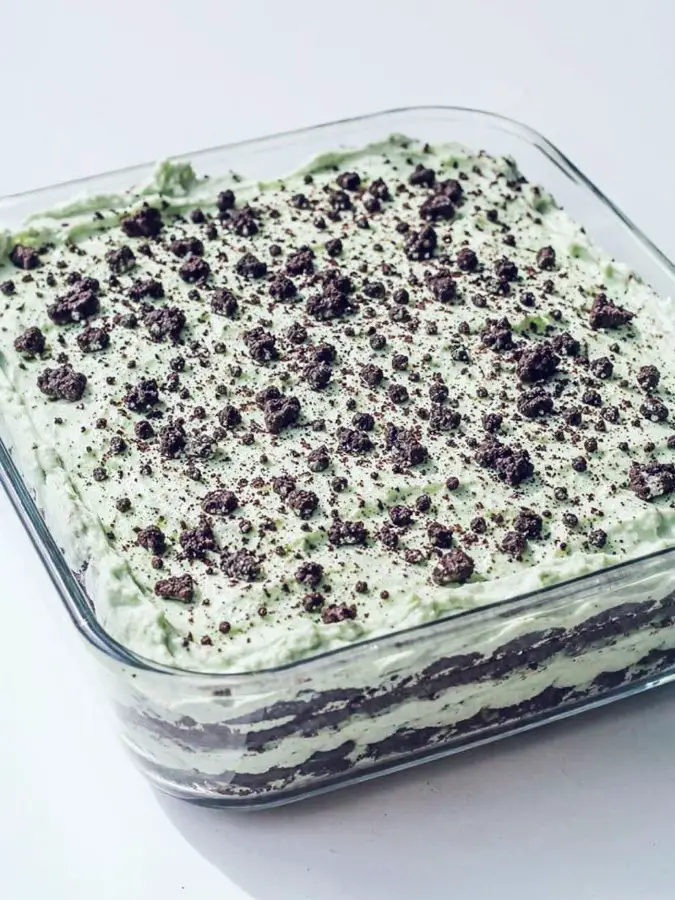
- Crumble some biscuit pieces and sprinkle them on top.
- Cover the tray with plastic wrap and place it in the refrigerator for 6 hours, or overnight.
Nutrition Information:
Yield:
8Serving Size:
1Amount Per Serving:Calories: 350Total Fat: 35gSaturated Fat: 21gUnsaturated Fat: 14gCholesterol: 100mgSodium: 146mgCarbohydrates: 27gFiber: 0gSugar: 22gProtein: 4g
Just a heads up — The calorie count and nutritional info here are just estimates! The actual numbers might vary a bit depending on the brands and ingredients you use.