Alright, lean in, because I need to tell you about the moment Asian desserts basically changed my life. No joke! Picture this: I’m wandering through a chaotic, incredible market in Bangkok – seriously, picture the smells, the noise, the heat. I’m kinda overwhelmed, definitely sweaty, and then I see this little stall. They’re serving up scoops of sticky rice with bright yellow mango next to it. Khao Niao Mamuang, Mango Sticky Rice. I was like, “Rice… for dessert? Weird.” But everyone looked so happy eating it, so I gave it a shot.
Mind. Blown. You guys, the warm hug of that sweet, coconutty rice, the cool, tangy burst of perfectly ripe mango, that little salty kick in the creamy sauce… it was pure magic. It wasn’t just food; it felt like sunshine and happiness served on a little banana leaf plate.
Naturally, I had to try making it back home. Let’s just say my first attempts were… humbling. We’re talking everything from rice that could double as wall plaster to something resembling sad coconut soup. My family deserves medals for their taste-testing endurance! But batch after batch, tweaking this, adjusting that (and probably annoying every Thai grandma spirit watching over me), I finally cracked the code. This recipe? This is that feeling. That perfect bite. It’s one of those Asian desserts that seems fancy, but trust me, once you get the hang of it, it’s pure, achievable joy. Let’s make some magic!
Ingredients List: Your Golden Ticket to Deliciousness
Making truly amazing Asian desserts like this one means getting the right goodies. Don’t stress, you can usually find this stuff at an Asian grocery store, or even the international aisle of your regular supermarket.
- The Main Event – Glutinous Rice (Sweet Rice): You need 1 ½ cups. It has to be Thai glutinous rice (sometimes called sweet rice). Seriously, do not try this with Uncle Ben’s or your usual jasmine rice! It just won’t work. It needs that special sticky starch. Look for bags clearly marked “glutinous” or “sweet rice.”
- Liquid Gold – Full-Fat Coconut Milk: Get yourself a 13.5-ounce can (about 400ml). And yes, full-fat is the key. Don’t even think about using the light stuff here; you’ll miss all that glorious richness! We’re making dessert, people, live a little! You’ll need almost the whole can for the rice, plus about ¼ cup extra for that yummy topping.
- Sweet Stuff – Sugar: You’ll need ½ cup plain white sugar for the main rice mix, and another tablespoon for the topping. Hot Tip: If you can find palm sugar (it looks like a solid brown disc or paste), grab it! It gives this amazing caramel flavour. You can swap it 1:1 for white sugar, maybe pack it in a bit. Brown sugar is okay in a desperate moment, but it’s not quite the same vibe.
- The Balancer – Salt: Just ½ teaspoon for the rice sauce, and a tiny little pinch (like ⅛ teaspoon) for the topping. Sounds weird, I know, but salt in desserts makes everything taste better. It wakes up the flavours!
- Sunshine Fruit – Ripe Mangoes: You need 2 or 3 big, beautiful, ripe mangoes. Yellow ones that smell sweet and give just a little when you gently squeeze ’em are perfect. Ataulfo (those smooth yellow ones sometimes called Honey Mangoes) are great if you’re in North America. If you’re lucky enough to find Thai Nam Dok Mai, YES! Just try to avoid the greener, stringier kinds. Can’t find good mangoes? Honestly, nothing really replaces mango here, but maybe some super-sweet, soft peaches could work in a pinch? But… it’s mango sticky rice for a reason!
- Optional Bling (But Highly Recommended!):
- 1 tablespoon toasted sesame seeds: Little pops of nutty crunch. So good.
- 1 tablespoon crispy yellow mung beans: Okay, these sound weird, but TRUST ME. They sell them already fried and crunchy in Asian markets (look for ‘Tua Luang’). They add this amazing salty, crunchy counterpoint. I always add these if I can find them!
Timing: It Takes Time, But It’s Not Hard Time!
Okay, real talk about timing. Making incredible Asian desserts sometimes requires a little patience, but most of it is hands-off time!
- The Big Soak: Minimum 4 hours, but seriously, just do it overnight. This is the most important step for getting that perfect chewy rice texture. Pour yourself a drink, watch a movie, go to sleep – let the rice do its thing. No shortcuts here!
- Getting Your Hands Dirty (Prep): About 15-20 minutes. This is mostly rinsing the rice before you soak it, mixing up the sauces later, and chopping the mango while the rice cooks. Easy peasy.
- Steam Power: 20-25 minutes for the rice to cook.
- Magic Absorption: 10-15 minutes for the cooked rice to soak up all that coconut goodness.
- Total Hands-On Time: Roughly 45-60 minutes, spread out.
So Basically: You’re looking at maybe an hour of actual doing stuff, plus that super important (but effortless) overnight soak. Honestly, compared to baking a complicated cake, this feels way less stressful. I usually start the rice soaking the night before, and then the next day, putting it all together feels like a fun little project, not a chore. It probably takes less active effort than assembling a lasagna!
Step-by-Step Instructions: Let’s Do This Thing!
Ready to become a Mango Sticky Rice pro? Let’s walk through it. You got this!
Step 1: Wash That Rice! (Super Important!)
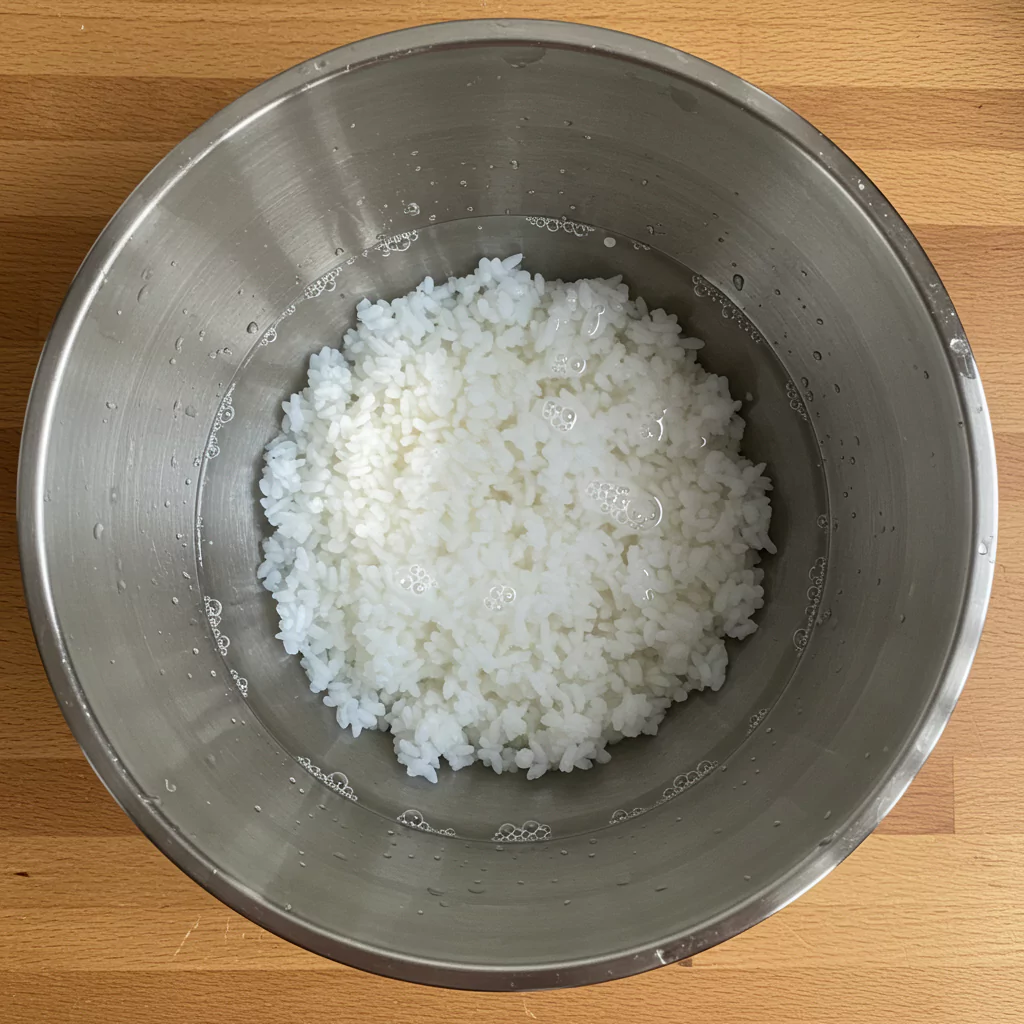
Okay, put your 1 ½ cups of glutinous rice in a big bowl. Cover it with cool water and get your hands in there! Swirl it around like crazy. See all that cloudy white stuff? That’s extra starch we need to get rid of. Carefully pour out the water (a sieve helps so you don’t lose rice!). Do this rinse-and-drain dance about 5 to 7 times – seriously, keep going until the water looks pretty clear. This stops the rice from being a gummy mess later. Learned that the hard way! Now, cover the clean rice with plenty of fresh cool water (at least a couple of inches above the rice) and leave it on the counter to soak for at least 4 hours, but overnight is truly your best bet.
Step 2: Time to Steam!
Alright, soaking done? Drain that rice really well. Now, get your steamer ready. If you have one of those cool bamboo ones, line it with cheesecloth or parchment paper (poke some holes in the paper so steam gets through!). Using a regular pot with a steamer basket insert? Line that too. Add water to the bottom pot (make sure it won’t touch the basket) and crank up the heat until it’s boiling nicely. Gently tip your drained rice into the lined steamer, spreading it out a bit. Pop the lid on and let it steam over medium-high heat for 20-25 minutes. You’ll know it’s done when the grains look kinda translucent and are tender and chewy when you taste one. No steamer? You can MacGyver it! Put the rice in a heatproof bowl with maybe ¼ cup water. Put that bowl on a little rack inside a bigger pot with an inch or two of simmering water. Cover the big pot tightly and steam away!
Step 3: Make the Dreamy Coconut Sauce
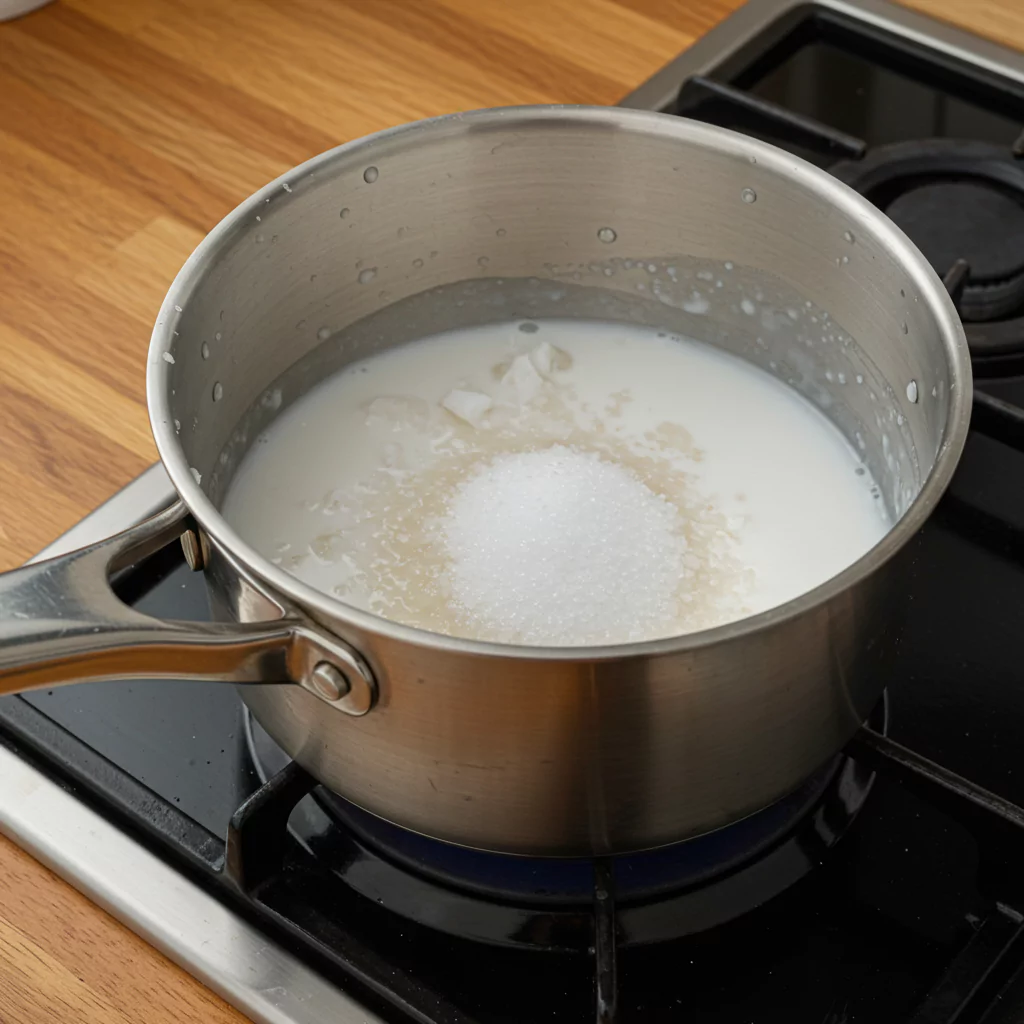
While that rice is getting its steam spa treatment, let’s make the sauce. Grab a small saucepan and pour in 1 cup of that glorious full-fat coconut milk (remember, save the rest for the drizzle!). Add the ½ cup sugar and ½ teaspoon salt. Stir it all together over medium-low heat. Keep stirring gently just until the sugar and salt dissolve. That’s it! Don’t let it boil or go crazy. Just warm enough to melt everything together. Take it off the heat.
Step 4: Bring Rice and Sauce Together (The Best Part!)
Rice steamed and ready? Awesome! Carefully scoop that hot, steamy rice into a mixing bowl. Now, pour that warm, sweet coconut milk mixture all over it. Use a spatula to gently, gently fold the sauce into the rice. Try not to mash it up – we want lovely whole grains coated in deliciousness. Once it’s all nicely mixed, cover the bowl tightly (a lid, plastic wrap, whatever works) and let it sit for 10-15 minutes. This is where the magic happens – the rice drinks up all that yummy sauce. This little rest step is crucial for so many fantastic Asian desserts.
Step 5: Tackle the Mangoes
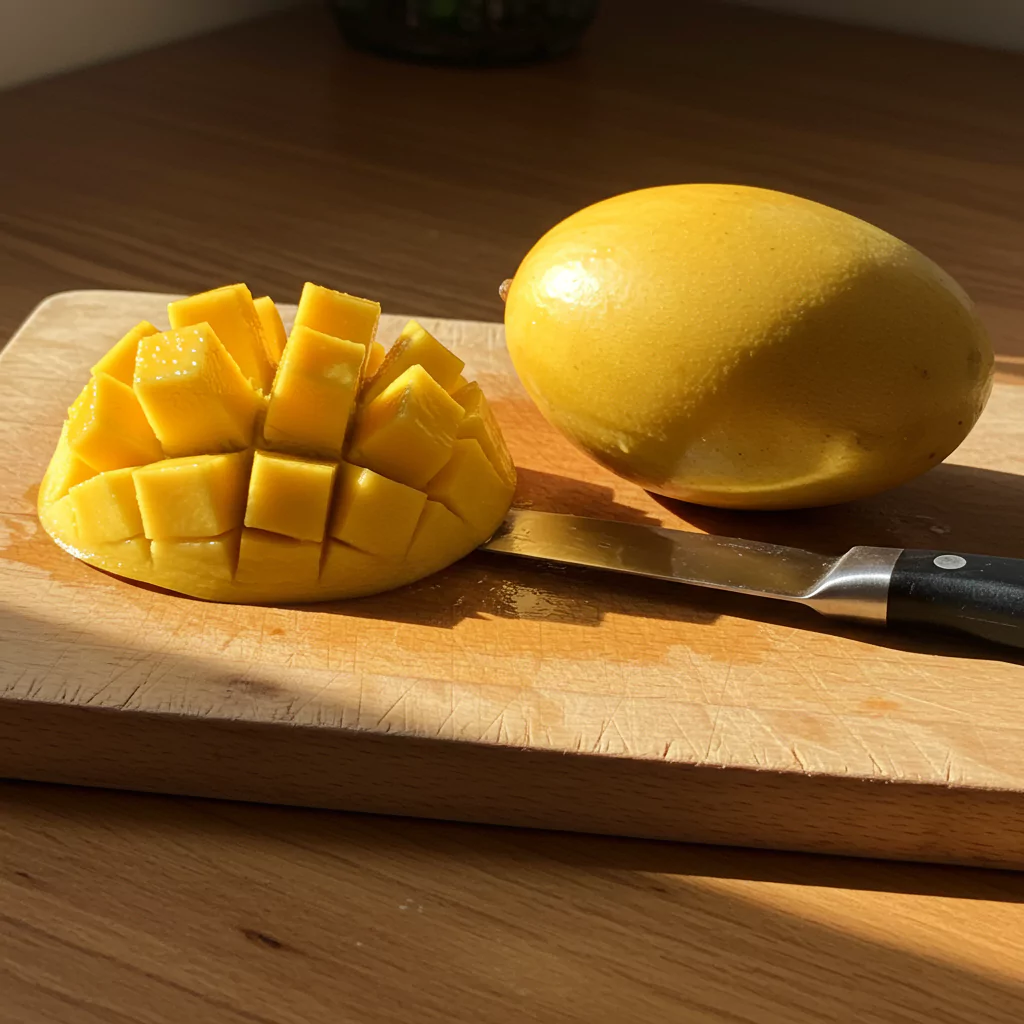
While the rice is having its flavour bath, let’s prep the mangoes. Give ’em a wash. My fave way to cut them (fancy name: the ‘hedgehog’): slice down each side of the flat pit in the middle. Then, carefully score the flesh on each half into squares, but don’t cut through the skin! Now, gently push the skin from underneath so the cubes pop outwards. Slice ’em off! Or, just peel the mango and slice the flesh off the pit. Whatever works! Just aim for pretty pieces. Pro Tip: Sniff the stem end of the mango before you buy it. If it smells sweet and fruity, it’s probably ripe and ready!
Step 6: The Salty-Sweet Drizzle
Nearly there! Let’s make that final touch. In the same little saucepan (why wash more dishes?), combine that last ¼ cup of coconut milk, the 1 tablespoon of sugar, and that tiny pinch (⅛ tsp) of salt. Optional but nice: If you want it slightly thicker, whisk ½ teaspoon of cornstarch or tapioca starch with a tablespoon of cold water, then stir that into the pot too. Warm it gently over low heat, stirring constantly, until it just starts to bubble around the edges and thickens up a tiny bit (especially if you added starch). Take it off the heat.
Step 7: Assemble and Devour!
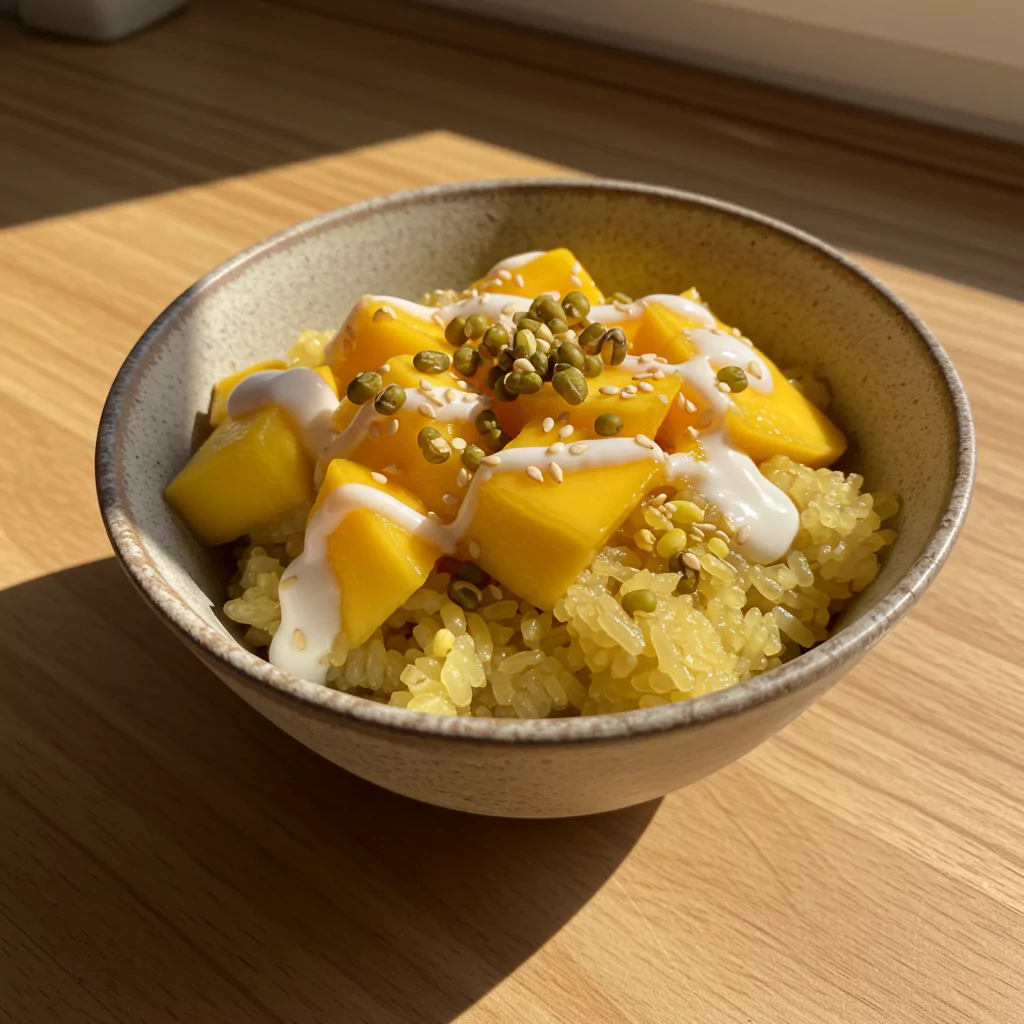
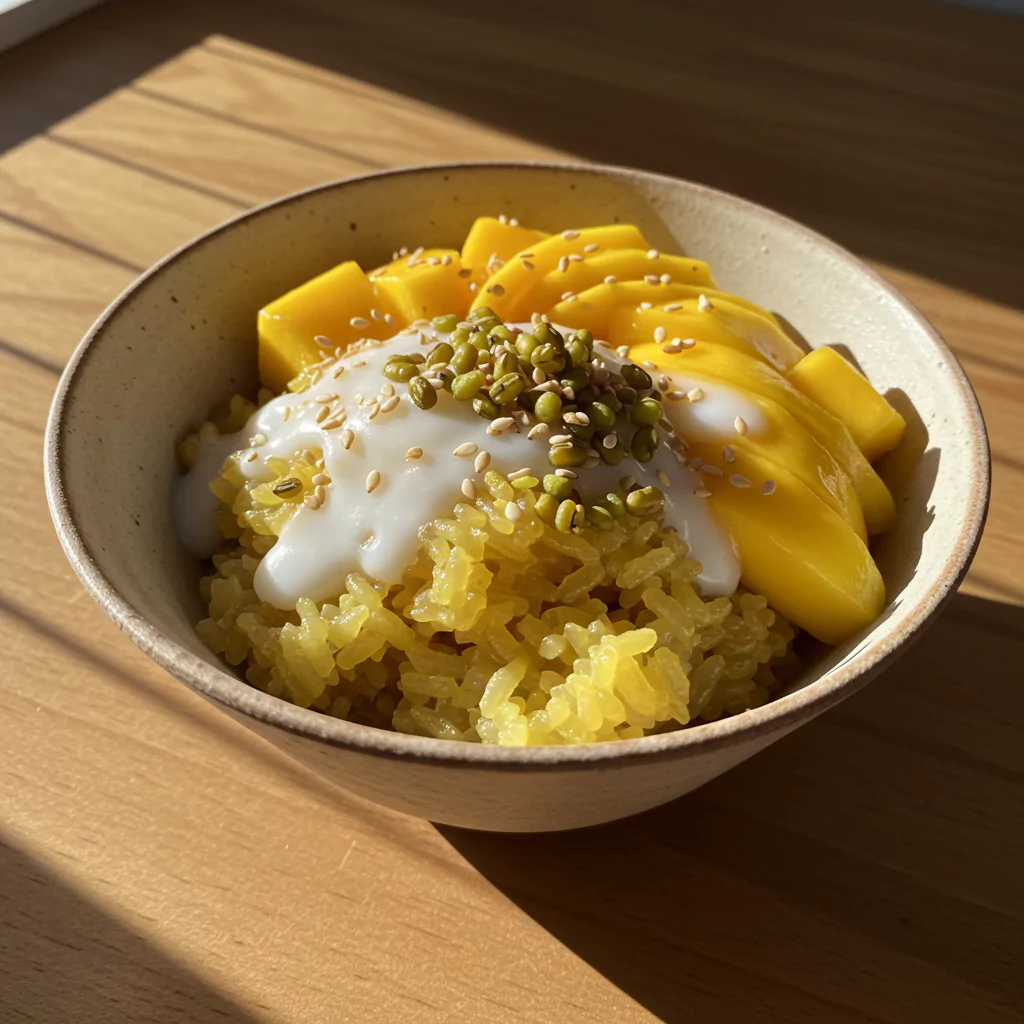
This is the moment! Grab your prettiest plates or bowls. Spoon on a generous amount of the warm, coconutty sticky rice. Arrange those beautiful mango slices or cubes right next to it. Now, drizzle that slightly salty, creamy topping over the rice (go on, get a little on the mango too!). If you have them, sprinkle over those toasted sesame seeds and/or the crunchy yellow mung beans. Serve it RIGHT AWAY! That contrast between the warm, soft rice and the cool, fresh mango is everything. Prepare for happy sighs.
Healthier Swaps (If You Really Must!)
Look, Mango Sticky Rice is a treat, and it’s perfect as is. But if you’re trying to be slightly more virtuous, here are some ideas:
- Dial Down the Sugar: You can totally cut back on the sugar in the rice sauce and the drizzle. Try reducing by about a quarter first and see how you feel. The mango is sweet already! Using things like maple syrup will work, but it’ll taste different, just FYI.
- Light Coconut Milk? Meh: Okay, you can use light coconut milk, but… just know it won’t be as rich or creamy. Like, not even close. That lushness is kind of the point of amazing Asian desserts like this! I’d personally rather have a smaller scoop of the real deal.
- Portion Patrol: Serve yourself a bit less. It’s surprisingly filling!
- Fruit Forward: Pile on more mango, less rice. Simple!
- Brown Rice Route: You can find brown glutinous rice. It adds fiber, sure, but be warned: it needs way longer soaking (like, maybe 24 hours) and steaming, and the texture is much denser and nuttier. It’s a whole different beast.
Recipes You May Like
Serving Ideas: Make It Pretty!
This baby shines on its own, but why not have some fun?
- The OG: Warm rice, fresh mango, drizzle, sesame seeds, mung beans. Can’t beat classic perfection.
- Ice Cream Dream: A scoop of coconut ice cream or mango sorbet next to it? Yes, please! That hot/cold thing is incredible.
- Crunch Factor: Add some toasted coconut flakes for extra texture and nutty flavour.
- Tropical Party (Non-Traditional): If mangoes are truly tragic looking, you could serve the sweet rice with other super ripe tropical fruits – think pineapple or even lychees. Still counts as delicious Asian desserts in my book!
- Fancy Pants: Use small glass bowls or even wide martini glasses for individual servings. Instant upgrade!
- Sip Alongside: A cold glass of Thai iced tea or just a simple, fragrant jasmine tea is the perfect companion.
Storing Tips: If Leftovers Even Happen…
Let’s be real, leftovers of this glorious stuff are rare. But just in case:
- The Rice: Best eaten fresh and warm, hands down. If you must save it, keep it separate from everything else in an airtight box on the counter for maybe a day. The fridge makes it go hard and sad. To revive it, steam it gently for a few minutes, or cover it with a damp paper towel and microwave in 20-second bursts until soft.
- The Drizzle Sauce: This keeps fine in an airtight container in the fridge for 3-4 days. Warm it up gently before using.
- The Mango: Cut mango gets sad quickly. Eat it fresh! Keep whole ripe mangoes in the fridge if you need to buy time.
- Smart Prep: You can totally soak the rice overnight. You can also make both coconut sauces the day before and keep them in the fridge (warm ’em up before using!). This makes whipping up these Asian desserts feel super speedy when you’re ready to eat! Just don’t steam the rice ahead of time – that needs to be fresh.
Why I’m Basically a Mango Sticky Rice Evangelist Now
Okay, can you tell I’m obsessed? It’s just… the perfect combination! That slightly salty, super creamy, sweet coconut milk soaking into the perfectly chewy sticky rice… then the bright, tangy, floral sweetness of the mango just cuts through it all. It’s textures, it’s temperatures, it’s sweet and salty heaven.
Every time I make this, it just makes me happy. It feels special, like a little vacation in a bowl, but it’s also pure comfort food. It’s proof that some of the best Asian desserts aren’t ridiculously complicated, just ridiculously good.
Your turn!! Please, please give this a try. I know you’ll fall in love too. Don’t let the steps scare you; it’s mostly waiting and gentle stirring!
Drop me a comment below! Did you make it? Did you love it? Did you discover the magic of crispy mung beans? Got your own killer Mango Sticky Rice tip or another Asian desserts favourite you think I need to try? I seriously love hearing from you guys and swapping kitchen adventures! Happy cooking!
Asian Desserts: Mango Sticky Rice

Authentic Thai Mango Sticky Rice! Creamy coconut sticky rice meets sweet mango in this easy classic asian desserts recipe. Try it!
Ingredients
- The Main Event – Glutinous Rice (Sweet Rice): You need 1 ½ cups. It has to be Thai glutinous rice (sometimes called sweet rice). Seriously, do not try this with Uncle Ben’s or your usual jasmine rice! It just won’t work. It needs that special sticky starch. Look for bags clearly marked “glutinous” or “sweet rice.”
- Liquid Gold – Full-Fat Coconut Milk: Get yourself a 13.5-ounce can (about 400ml). And yes, full-fat is the key. Don’t even think about using the light stuff here; you’ll miss all that glorious richness! We’re making dessert, people, live a little! You’ll need almost the whole can for the rice, plus about ¼ cup extra for that yummy topping.
- Sweet Stuff – Sugar: You’ll need ½ cup plain white sugar for the main rice mix, and another tablespoon for the topping. Hot Tip: If you can find palm sugar (it looks like a solid brown disc or paste), grab it! It gives this amazing caramel flavour. You can swap it 1:1 for white sugar, maybe pack it in a bit. Brown sugar is okay in a desperate moment, but it’s not quite the same vibe.
- The Balancer – Salt: Just ½ teaspoon for the rice sauce, and a tiny little pinch (like ⅛ teaspoon) for the topping. Sounds weird, I know, but salt in desserts makes everything taste better. It wakes up the flavours!
- Sunshine Fruit – Ripe Mangoes: You need 2 or 3 big, beautiful, ripe mangoes. Yellow ones that smell sweet and give just a little when you gently squeeze ’em are perfect. Ataulfo (those smooth yellow ones sometimes called Honey Mangoes) are great if you’re in North America. If you’re lucky enough to find Thai Nam Dok Mai, YES! Just try to avoid the greener, stringier kinds. Can’t find good mangoes? Honestly, nothing really replaces mango here, but maybe some super-sweet, soft peaches could work in a pinch? But… it’s mango sticky rice for a reason!
- 1 tablespoon toasted sesame seeds: Little pops of nutty crunch. So good. (Optional)
- 1 tablespoon crispy yellow mung beans: Okay, these sound weird, but TRUST ME. They sell them already fried and crunchy in Asian markets (look for ‘Tua Luang’). They add this amazing salty, crunchy counterpoint. I always add these if I can find them! (Optional)
Instructions
Step 1: Wash That Rice! (Super Important!)
Okay, put your 1 ½ cups of glutinous rice in a big bowl. Cover it with cool water and get your hands in there! Swirl it around like crazy. See all that cloudy white stuff? That’s extra starch we need to get rid of. Carefully pour out the water (a sieve helps so you don’t lose rice!). Do this rinse-and-drain dance about 5 to 7 times – seriously, keep going until the water looks pretty clear. This stops the rice from being a gummy mess later. Learned that the hard way! Now, cover the clean rice with plenty of fresh cool water (at least a couple of inches above the rice) and leave it on the counter to soak for at least 4 hours, but overnight is truly your best bet.
Step 2: Time to Steam!
Alright, soaking done? Drain that rice really well. Now, get your steamer ready. If you have one of those cool bamboo ones, line it with cheesecloth or parchment paper (poke some holes in the paper so steam gets through!). Using a regular pot with a steamer basket insert? Line that too. Add water to the bottom pot (make sure it won’t touch the basket) and crank up the heat until it’s boiling nicely. Gently tip your drained rice into the lined steamer, spreading it out a bit. Pop the lid on and let it steam over medium-high heat for 20-25 minutes. You’ll know it’s done when the grains look kinda translucent and are tender and chewy when you taste one. No steamer? You can MacGyver it! Put the rice in a heatproof bowl with maybe ¼ cup water. Put that bowl on a little rack inside a bigger pot with an inch or two of simmering water. Cover the big pot tightly and steam away!
Step 3: Make the Dreamy Coconut Sauce
While that rice is getting its steam spa treatment, let’s make the sauce. Grab a small saucepan and pour in 1 cup of that glorious full-fat coconut milk (remember, save the rest for the drizzle!). Add the ½ cup sugar and ½ teaspoon salt. Stir it all together over medium-low heat. Keep stirring gently just until the sugar and salt dissolve. That’s it! Don’t let it boil or go crazy. Just warm enough to melt everything together. Take it off the heat.
Step 4: Bring Rice and Sauce Together (The Best Part!)
Rice steamed and ready? Awesome! Carefully scoop that hot, steamy rice into a mixing bowl. Now, pour that warm, sweet coconut milk mixture all over it. Use a spatula to gently, gently fold the sauce into the rice. Try not to mash it up – we want lovely whole grains coated in deliciousness. Once it’s all nicely mixed, cover the bowl tightly (a lid, plastic wrap, whatever works) and let it sit for 10-15 minutes. This is where the magic happens – the rice drinks up all that yummy sauce. This little rest step is crucial for so many fantastic Asian desserts.
Step 5: Tackle the Mangoes
While the rice is having its flavour bath, let’s prep the mangoes. Give ’em a wash. My fave way to cut them (fancy name: the ‘hedgehog’): slice down each side of the flat pit in the middle. Then, carefully score the flesh on each half into squares, but don’t cut through the skin! Now, gently push the skin from underneath so the cubes pop outwards. Slice ’em off! Or, just peel the mango and slice the flesh off the pit. Whatever works! Just aim for pretty pieces. Pro Tip: Sniff the stem end of the mango before you buy it. If it smells sweet and fruity, it’s probably ripe and ready!
Step 6: The Salty-Sweet Drizzle
Nearly there! Let’s make that final touch. In the same little saucepan (why wash more dishes?), combine that last ¼ cup of coconut milk, the 1 tablespoon of sugar, and that tiny pinch (⅛ tsp) of salt. Optional but nice: If you want it slightly thicker, whisk ½ teaspoon of cornstarch or tapioca starch with a tablespoon of cold water, then stir that into the pot too. Warm it gently over low heat, stirring constantly, until it just starts to bubble around the edges and thickens up a tiny bit (especially if you added starch). Take it off the heat.
Step 7: Assemble and Devour!
This is the moment! Grab your prettiest plates or bowls. Spoon on a generous amount of the warm, coconutty sticky rice. Arrange those beautiful mango slices or cubes right next to it. Now, drizzle that slightly salty, creamy topping over the rice (go on, get a little on the mango too!). If you have them, sprinkle over those toasted sesame seeds and/or the crunchy yellow mung beans. Serve it RIGHT AWAY! That contrast between the warm, soft rice and the cool, fresh mango is everything. Prepare for happy sighs.
Notes
Nutrition Information
Yield
Makes 3-4 servings.Amount Per ServingCalories ~500 calories per serving