If you’re interested in making sourdough starter but feel overwhelmed by the details, this guide will help you. Sourdough isn’t as complicated as it sounds, and you’ll enjoy the process of feeding the yeast and watching it develop. In this simple sourdough starter guide, you’ll be shown step by step how to make your sourdough starter, how to care for it, what to do with leftovers, and what to do when it needs a break.
This easy to make sourdough starter is natural and healthy. It’s a slow and steady process where you simply mix flour and water and let nature do its work over a week or 2 weeks.
Ingredients
Yield: 1 Cup of active starter (plus some discard)
- Flour– A 5lb bag of organic, unbleached all-purpose flour.
- Water– Filtered water (Room temperature water works best)
- Gear– A 16-ounce glass jar, a wooden spoon, a spatula, and a rubber band for tracking.
Bread Recipes You May Like
Step-by-Step Instructions
Day 1: Mix half a cup (60 grams) of flour and quarter cup (60 grams) of water in the jar and mix well until the flour is completely mixed. Cover loosely and place in a warm place such as the top of the refrigerator for 24 hours or in a warm place at room temperature.
Day 2: Remove and discard half of the sourdough starter or store it in the refrigerator for use in another recipe. Add to the fermented dough half a cup (60 grams) of flour and a quarter cup (60 grams) of water. Stir well, scrape down the sides of the bowl, then cover and leave in a warm place at room temperature for 24 hours.
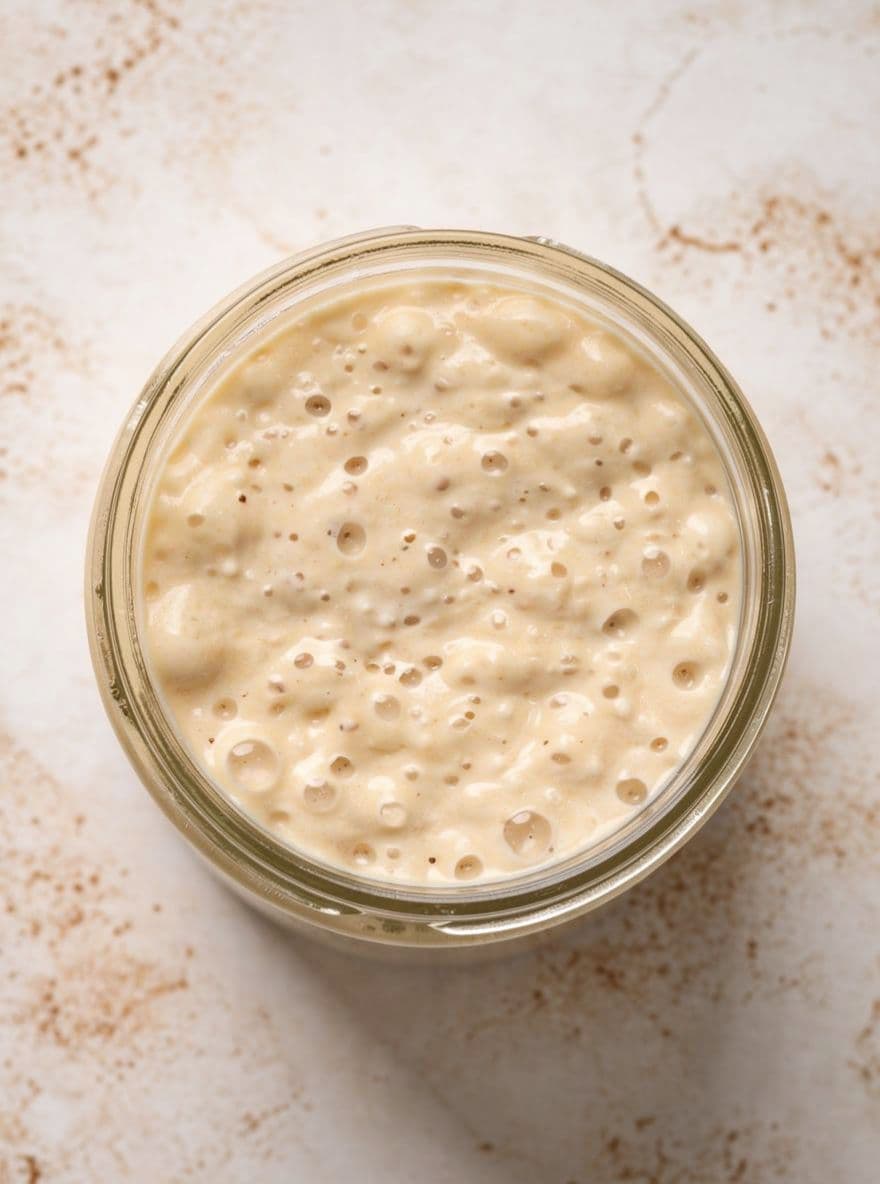
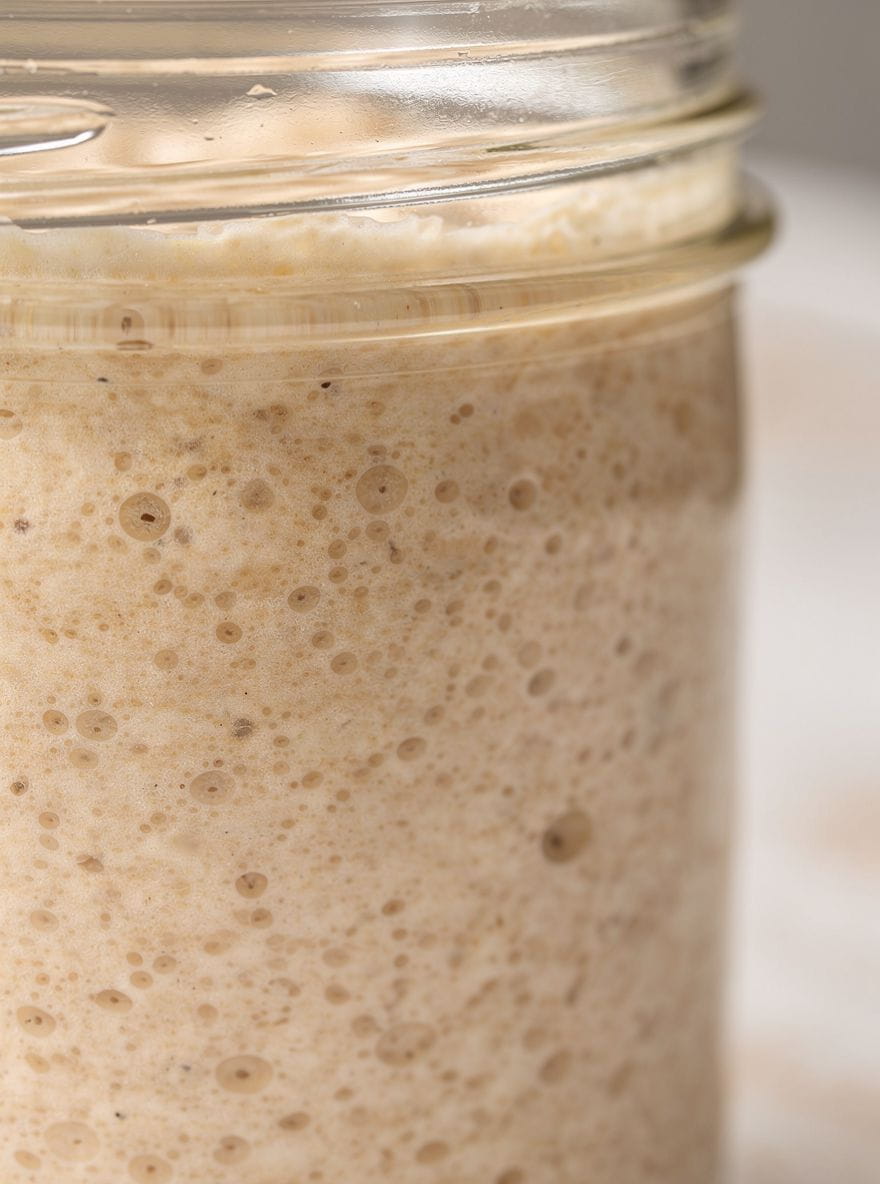
Day 3-7: Repeat the same process as on day 2 every day. You’ll start to see little bubbles and smell something a little tart or even a little fruity.
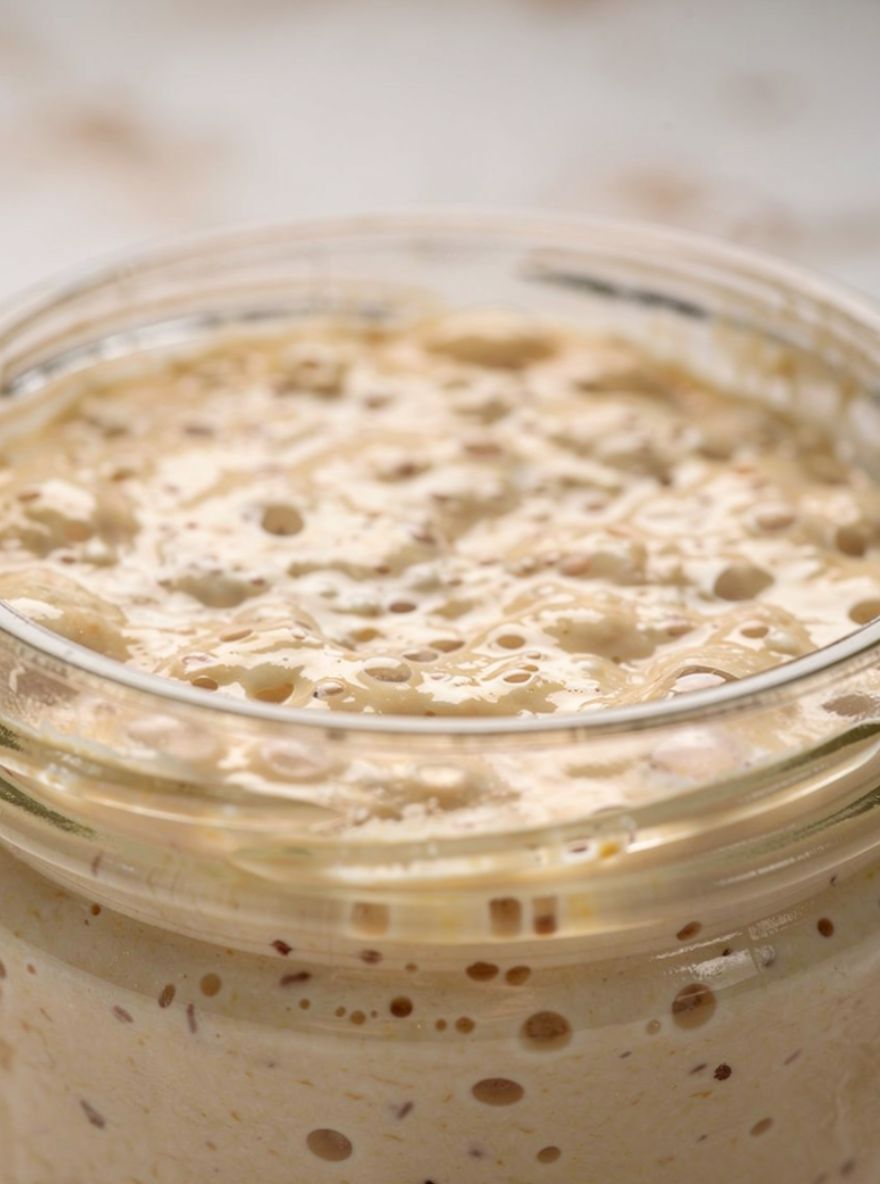
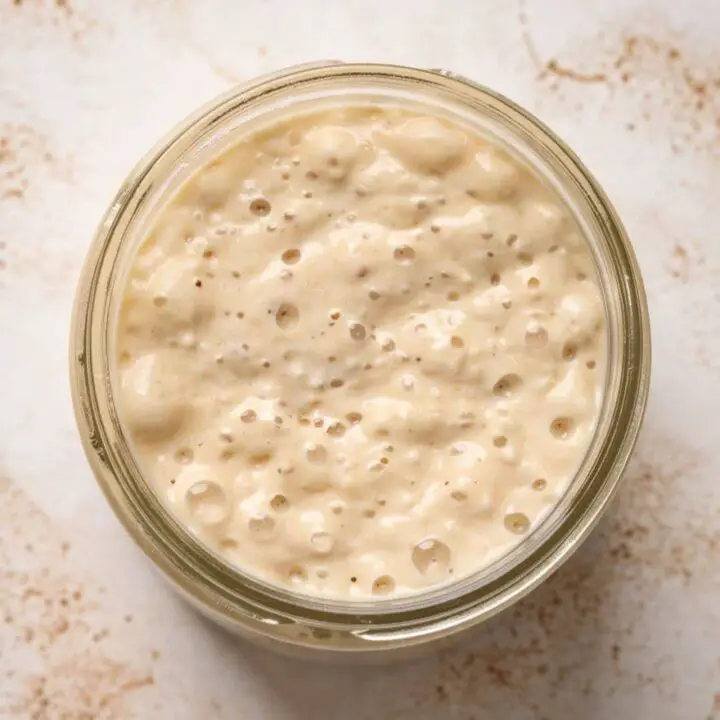
Day 7-14: Continue in the same manner and watch the dough until it has doubled in size (you can use a rubber band or a marker), and when it smells tart and sour and looks bubbly. Drop a small amount of it into a cup of water. If it remains on the surface, you have created a natural leavening agent and are ready to bake. Congratulations!
Tip: If your kitchen is a bit chilly, pop the jar in the oven with just the oven light on. That little bit of warmth makes a huge difference for the yeast.
Recipes You May Also Like
Why You’ll Love This Recipe
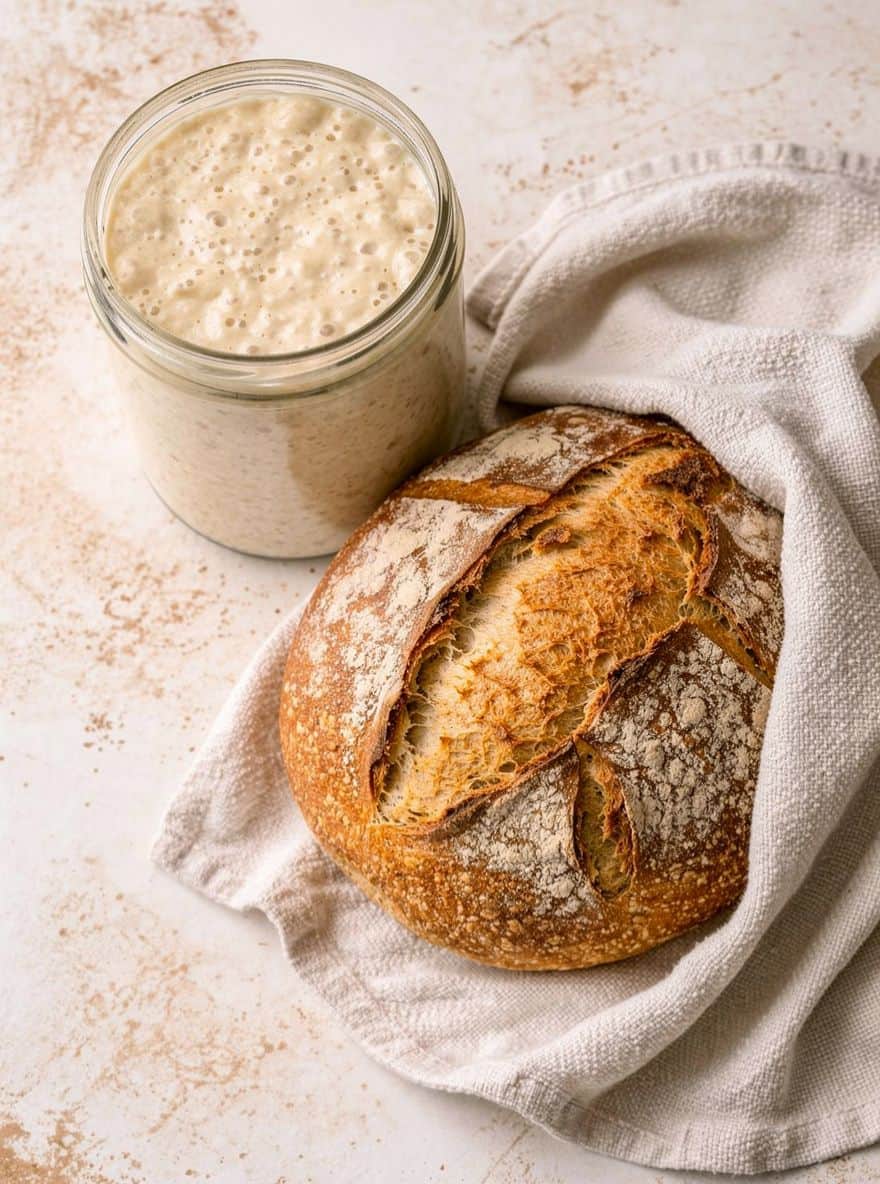
Baking bread using your own sourdough starter gives you great pride. Not only do natural fermentation have health benefits, but its taste far exceeds that of any packaged bread. Imagine a warm, crunchy slice of bread with a little butter and a cup of coffee in the morning. It takes some patience, but the first successful loaf makes the entire week of waiting worth it.
I’d love to hearing how your sourdough fermentation process is going! If it’s brewing well or if you have any questions I’d love to know, just leave a comment below and we’ll talk about it.
Sourdough Starter Guide
Make your own wild yeast from scratch. Homemade, healthy, and it will give your homemade bread a wonderful flavor, all using just flour and water.
Ingredients
- A 5lb bag of organic, unbleached all purpose flour.
- Water (Filtered water)
Instructions
- Day 1: Mix ½ cup (60 grams) of flour and ¼ cup (60 grams) of water in the jar and mix well until the flour is completely mixed. Cover loosely and place in a warm place such as the top of the refrigerator for 24 hours or in a warm place at room temperature.
- Day 2: Remove and discard half of the sourdough starter or store it in the refrigerator for use in another recipe. Add to the fermented dough ½ cup (60 grams) of flour and a ¼ cup (60 grams) of water. Stir well, scraping down the sides of the bowl, then cover and let it rest in a warm spot at room temperature for 24 hours
- Day 3 to 7: Continue following the same process you used on Day 2, every day. You’ll start to see little bubbles and smell something a little tart or even a little fruity.
- Day 7 to 14: Continue in the same manner and watch the dough until it has doubled in size (you can use a rubber band or a marker), and when it smells tart and sour and looks bubbly. Drop a small amount of it into a cup of water. If it stays on the surface, you’ve successfully created a natural leavening agent and you’re ready to bake. Congratulations!
Notes
- Water – Avoid tap water with heavy chlorine as it can kill the Wild Yeast
- Tip – If your kitchen feels a little chilly, place the jar in the oven with only the light on. That little bit of warmth can make a big difference for the Yeast.
- Storage – Once active, store in the fridge and feed once a week. If keeping it on the counter, you must feed it every single day.