If you’re looking for the easiest baking success ever, this lemonade scones recipe is exactly what you need. Honestly, I could not believe how moist and fluffy these muffins are using just 3 ingredients! It’s a classic method that feels like a total magic trick in the kitchen. No need to worry about rubbing in cold butter; the soda cream does all the hard work for you – Perfect for a quick afternoon tea or a lazy weekend breakfast.
Ingredients
Yield: 10 Scones
- 3 ½ cups Self-raising flour (plus a little extra for dusting)
- 1 cup Thickened cream (heavy cream), liquid/not whipped
- 1 cup Lemonade (use a fizzy soda like Sprite or 7Up)
- Milk (optional, just for brushing the tops)
- To Serve: Whipped cream and your favorite fruit jam
Australian Recipes You May Like
Step-by-Step Instructions
Step 1:Preheat the oven to 200°C (390°F) or 180°C if you’re using a fan-forced oven, and get your baking tray ready by lining it with parchment paper so nothing sticks to the bottom.
Step 2: Put the flour, cream, and lemonade in a large bowl and gently stir the mixture until the flour is almost blended — Tip: Don’t over-mix! Stop as soon as it comes together; keeping the air in makes them light. The dough will be soft and sticky.
Step 3: Place the dough on a floured surface and knead it very gently, just 3 to 5 times until it comes together. Use your hands to shape it into a disc about 2.5 cm (1 inch) thick.
Step 4: Using a 6 cm (2.5 inch) round cutter, cut out your scone dough. Press straight down and then lift up – Don’t twist the cutter, or your scones won’t rise evenly! Dip the cutter in flour between each press to keep it from sticking.
Step 5: Scoop them up and place them on the tray so they are barely touching each other (this helps them support each other as they rise). Brush the tops lightly with milk for a nice golden color.
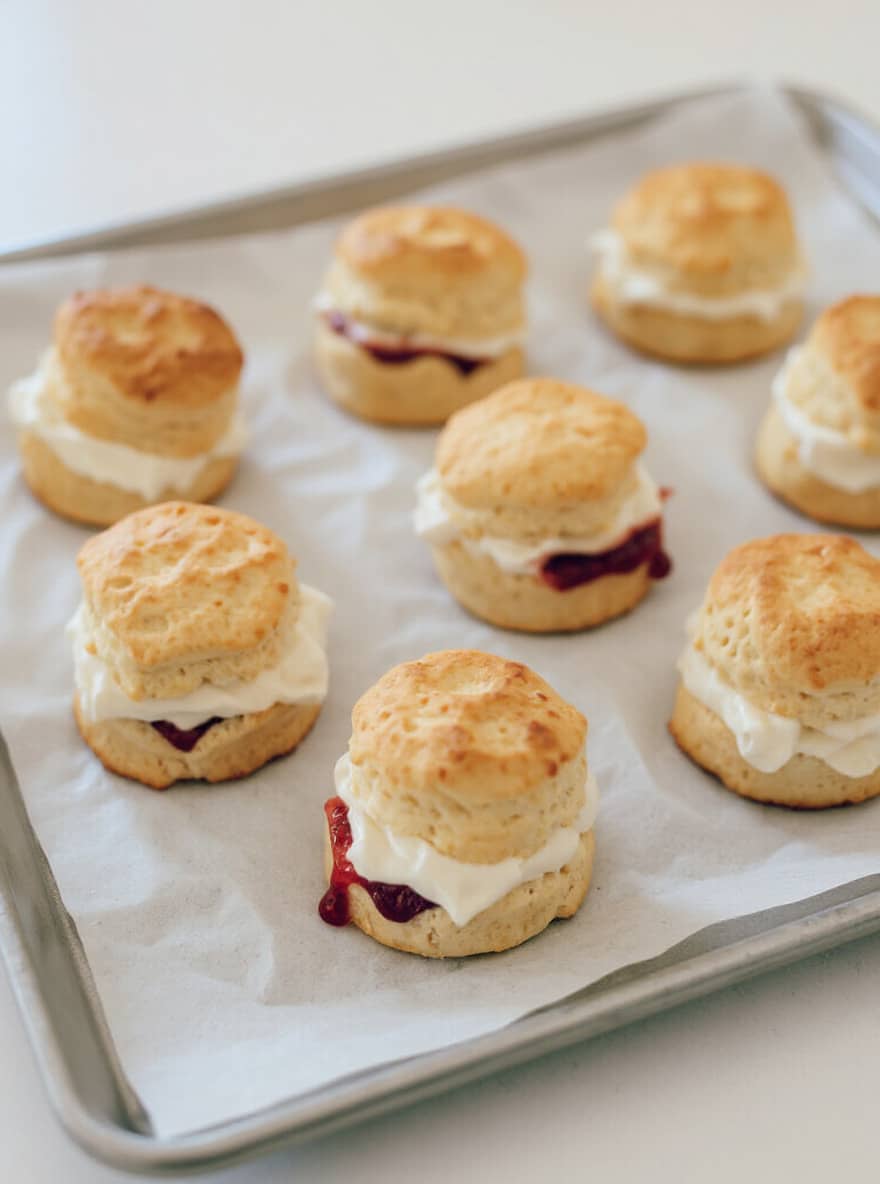
Step 6: Bake for 15 minutes until the top turns golden brown, then transfer it to a rack with a clean tea towel over it while it cools to keep the crust soft.
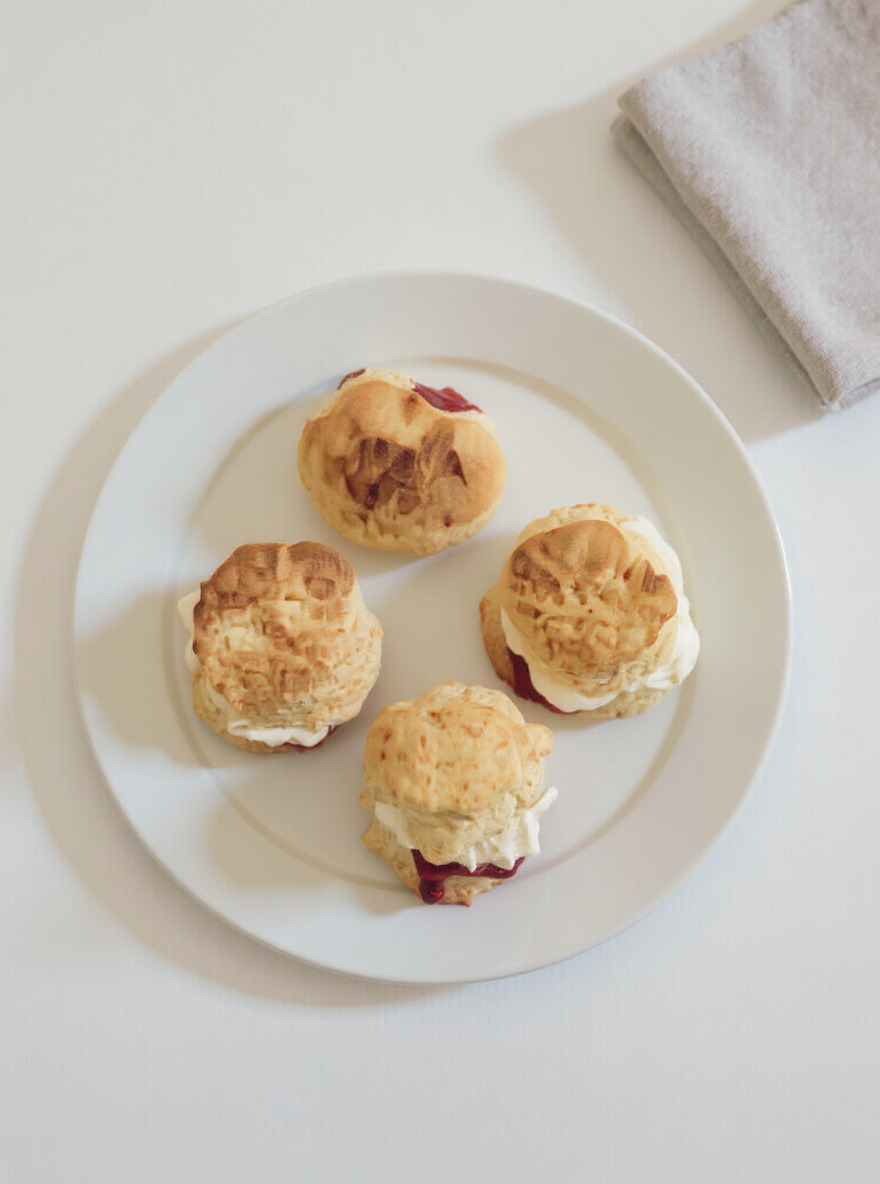
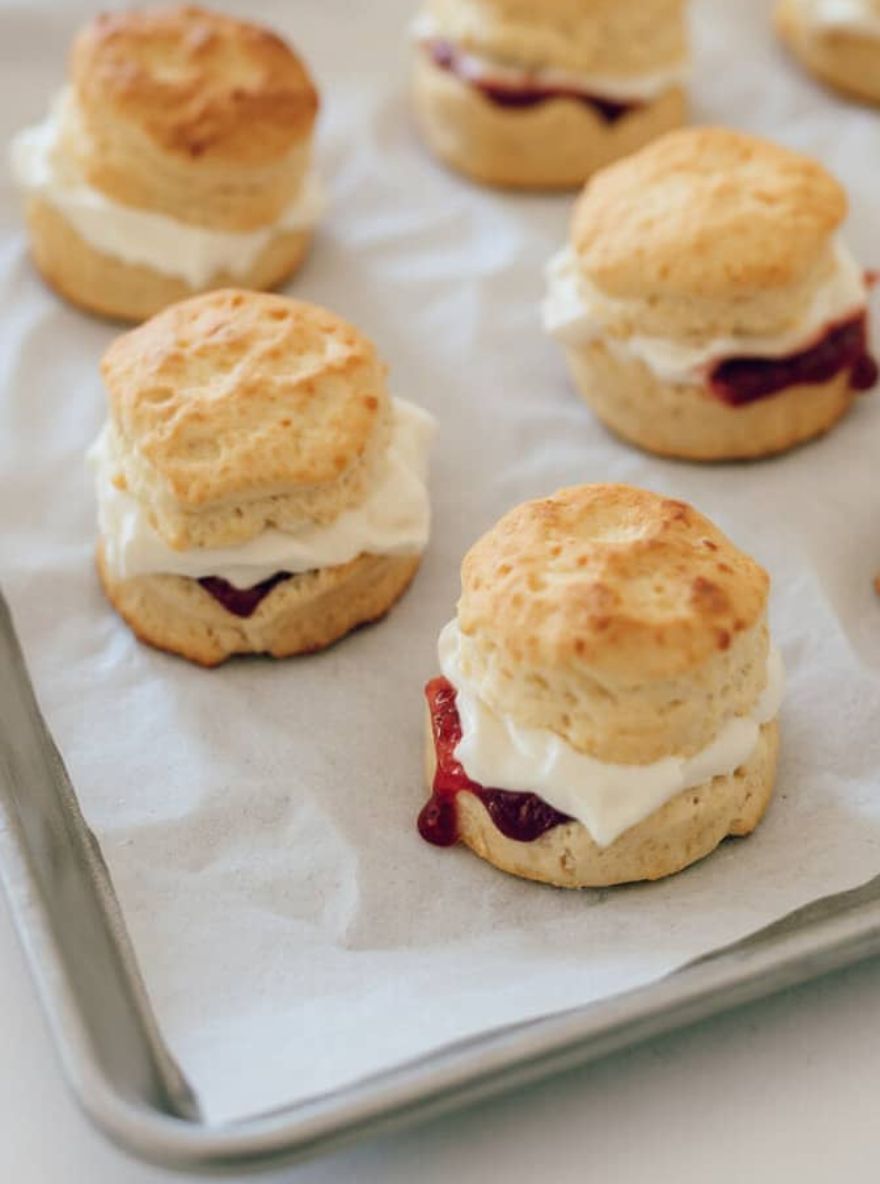
Step 7: It’s time to serve! These baked goods are best enjoyed warm. Split the scones in half and generously spread the whipped cream and jam on top.
Recipes You May Like Also
Why You’ll Love this Recipe
You are going to obsess over this lemonade scones recipe because it is practically foolproof. It’s the perfect baking recipe when you need a boost of energy with afternoon coffee or tea, but don’t have the time for complicated steps. The texture is incredibly soft, and the slight sweetness makes them a joy to eat. They are best enjoyed warm, split open with plenty of jam and cream.
I’d love to hear how yours turned out! Did you have them with tea or coffee? Leave a comment below and let me know!
Lemonade Scones Recipe

Learn the easiest recipe for lemonade scones ever! With just three ingredients, this golden and crumbly treat is ready in 25 minutes, perfect for afternoon tea, and requires no effort — just mix, bake, and enjoy it with jam and cream.
Ingredients
- 3 ½ cups Self-raising flour (plus a little extra for dusting)
- 1 cup Thickened cream (heavy cream), liquid/not whipped
- 1 cup Lemonade (use a fizzy soda like Sprite or 7Up)
- Milk (optional, just for brushing the tops)
- To Serve: Whipped cream and your favorite fruit jam
- Australian Recipes You May Like
Instructions
- Preheat the oven to 200°C (390°F) or 180°C if you’re using a fan-forced oven, and get your baking tray ready by lining it with parchment paper so nothing sticks to the bottom.
- Put the flour, cream, and lemonade in a large bowl and gently stir the mixture until the flour is almost blended — Tip: Tip: Do not overmix the batter and stop as soon as the ingredients come together; keeping the air in makes it light, and the dough will be soft and sticky.
- Place the dough on a floured surface and knead it very gently, just 3 to 5 times until it comes together. Use your hands to shape it into a disc about 2.5cm (1inch) thick.
- Using a 6 cm (2.5 inch) round cutter, cut out your scone dough. Press straight down and then lift up – Don’t twist the cutter, or your scones won’t rise evenly! Dip the cutter in flour between each press to keep it from sticking.
- Scoop them up and place them on the tray so they are barely touching each other (this helps them support each other as they rise). Brush the tops lightly with milk for a nice golden color.
- Bake for 15 minutes until the top turns golden brown, then transfer it to a rack with a clean tea towel over it while it cools to keep the crust soft.
- It’s time to serve! These baked goods are best enjoyed warm. Split the scones in half and generously spread the whipped cream and jam on top.
Notes
- Cutting Tip – Flour your cutter between presses and never twist it, or the scones won't rise evenly.
- Storage – Keep in an airtight container for up to 3 days. Reheat before serving. They also freeze well for up to 3 months.
Nutrition Information
Yield
10Serving Size
1Amount Per ServingCalories 136Total Fat 9gSaturated Fat 6gUnsaturated Fat 3gCholesterol 28mgSodium 9mgCarbohydrates 14gFiber 0gSugar 11gProtein 1g
Just a heads up—the calorie count and nutritional info here are just estimates! The actual numbers might vary a bit depending on the brands and ingredients you use.