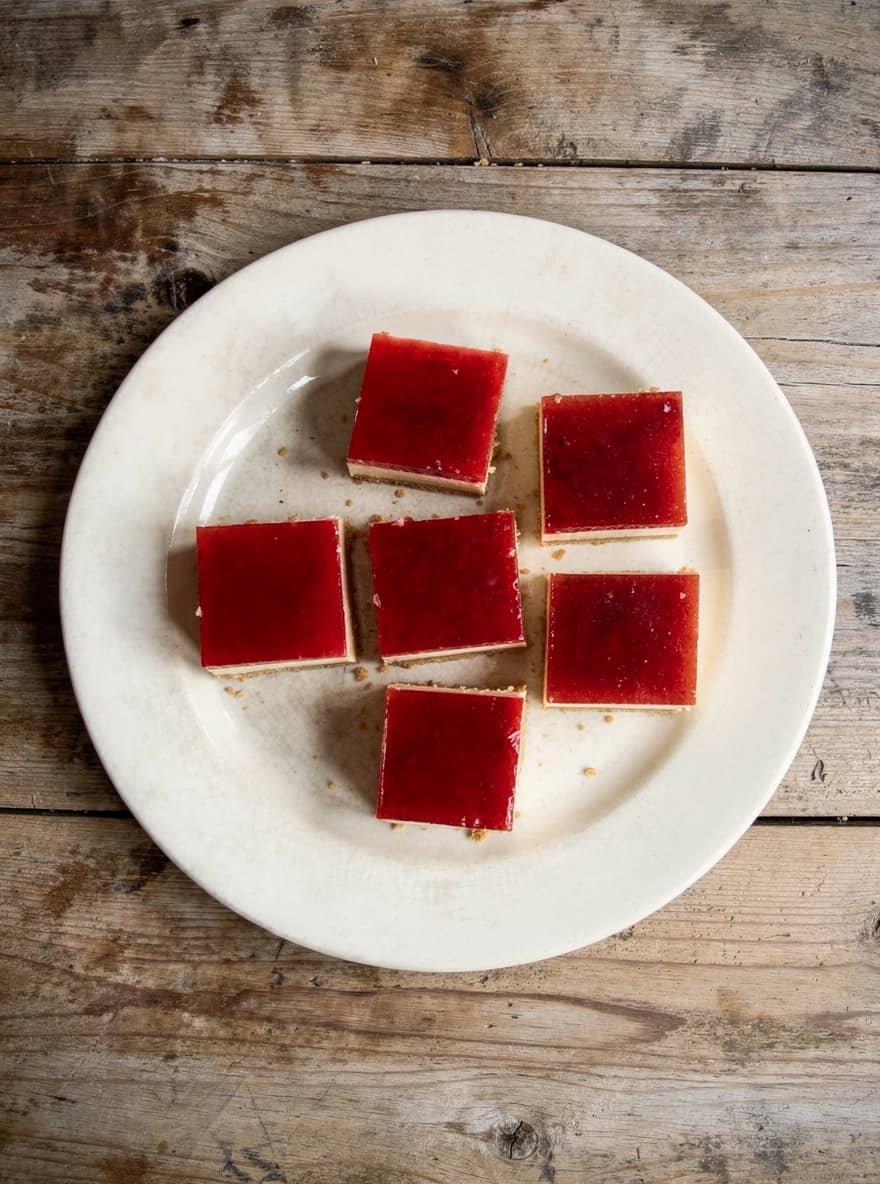
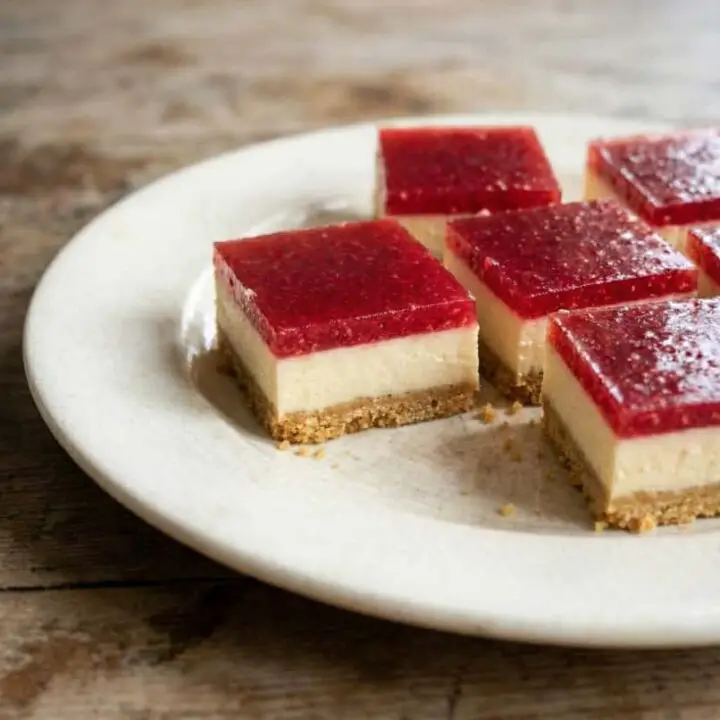
There is something about the classic jelly slice recipe that brings joy and sparks nostalgia. It takes me straight back to school fairs and family gatherings. If you are looking for an easy no-bake dessert and looks amazing but actually takes no time in the oven, this is the recipe for you — With a perfectly crunchy biscuit base, a refreshing creamy center, and a wobbly, bright top layer.
This dish is a staple of Australian jelly slices that people tend to compete over at parties because it’s super refreshing. Whether you’re a baking newbie or a pro, you will appreciate how easy it is to put together these awesome layers.

Ingredients
Yield: Makes approx 16 slices
- The Base:
- 250g plain sweet biscuits (Like Marie biscuits or Graham crackers)
- 175g butter, melted
- The Creamy Filling:
- 395g can sweetened condensed milk
- 2 teaspoons gelatin powder
- ¾ Cup boiling water
- Juice of 1-2 lemons (Adjust for tartness)
- The Topping:
- 1 packet (85g) Raspberry jelly crystals (or your favorite flavor)
- 1 cup boiling water
- ¾ cup cold water
Australian Recipe You May Like
Step-by-Step Instructions
Step 1: Crush the biscuits into fine crumbs using a food processor or a rolling pin, then mix them well with the melted butter until the mixture looks like wet sand. Press this mixture firmly into a lined rectangular pan (about 18 cm × 28 cm). Pop the pan in the fridge to chill while you get the next layer ready.
Step 2: Dissolve two teaspoons of gelatin in ¾ cup of boiling water. In a separate bowl, whisk the condensed milk and lemon juice together, then pour the gelatin mixture into the milk mix and stir well. Next, pour this creamy layer over the chilled base and put it back in the fridge until it’s set to the touch — Tip: Don’t rush this step! if the cream layer doesn’t set, the gel will leak and ruin the layers.
Step 3: Prepare the jelly layer by dissolving the granules in boiling water, then stir it with cold water. Let it cool completely on the counter (Room temperature is key — Don’t pour hot jelly over the cream!) Then gently pour the cooled liquid over the set filling.
Step 4: Put the container back in the fridge for at least 4 hours, preferably overnight. When you’re ready to serve, use a warm knife to cut perfectly clean squares.
Dessert Recipes You May Like Also

Why you’ll love this recipe
You’re going to be totally obsessed with this Jelly Slice Recipe because it hits the perfect balance of creamy, crunchy, and fruity. It is the ultimate “lazy” dessert because it looks technically tricky with those colorful, distinct layers, but it’s actually super easy to make.
I love having this with a hot cup of black tea or coffee in the afternoon; the refreshing lemon filling completely cuts through the sweetness, giving you a great boost of energy. Plus, the bright red color makes it really eye-catching on any table. It brings a lot of joy to share a plate of it with friends and family.
Try it this week! I had love to see how your results turn out — Leave a comment below and tell me which jelly flavor you picked!
Jelly Slice Recipe
The classic jelly slice recipe is a popular Australian dessert featuring a crunchy biscuit base, a creamy condensed milk filling, and a bright, refreshing jelly layer — It is the perfect easy no-bake dessert for occasions.
Ingredients
The Base
- 250g plain sweet biscuits (Like Marie biscuits or Graham crackers)
- 175g butter, melted
The Creamy Filling
- 395g can sweetened condensed milk
- 2 teaspoons gelatin powder
- ¾ Cup boiling water
- Juice of 1-2 lemons (Adjust for tartness)
The Topping
- 1 packet (85g) Raspberry jelly crystals (or your favorite flavor)
- 1 cup boiling water
- ¾ cup cold water
Instructions
- Crush the biscuits into fine crumbs using a food processor or a rolling pin, then mix them well with the melted butter until the mixture looks like wet sand. Press this mixture firmly into a lined rectangular pan (about 18 cm × 28 cm). Pop the pan in the fridge to chill while you get the next layer ready.
- Dissolve two teaspoons of gelatin in ¾ cup of boiling water. In a separate bowl, whisk the condensed milk and lemon juice together, then pour the gelatin mixture into the milk mix and stir well. Next, pour this creamy layer over the chilled base and put it back in the fridge until it’s set to the touch — Tip: Don’t rush this step! if the cream layer doesn’t set, the gel will leak and ruin the layers.
- Prepare the jelly layer by dissolving the granules in boiling water, then stir it with cold water. Let it cool completely on the counter (Room temperature is key — Don’t pour hot jelly over the cream!) Then gently pour the cooled liquid over the set filling.
- Put the container back in the fridge for at least 4 hours, preferably overnight. When you’re ready to serve, use a warm knife to cut perfectly clean squares.
Notes
- Cooling: Make sure the jelly has completely cooled before pouring it over the cream layer, otherwise the layers will mix.
- Use a hot knife (Dip in hot water then dry) to achieve perfectly clean cuts.
Nutrition Information
Yield 16 Serving Size 1 Amounts Per ServingCalories 217Total Fat 13gSaturated Fat 8gUnsaturated Fat 6gCholesterol 32mgSodium 197mgCarbohydrates 21gFiber 0gSugar 14gProtein 4gJust a heads up—the calorie count and nutritional info here are just estimates! The actual numbers might vary a bit depending on the brands and ingredients you use.