I’m really excited to share these cardamom mango thumbprint cookies with you. They have this amazing mix of warm cardamom spices and sweet mango cream that work perfectly together. The texture is buttery and super soft, but you get a little crunch on the outside from the sugar coating — if you need something different for a cookie swap or just want a great snack with your coffee, this is a perfect pick.
Ingredients
Yields: 20 Cookies
- Dough:
- 12 Tablespoons (168g) unsalted butter, softened
- ⅔ cup (140g) Granulated sugar
- 1 Teaspoon vanilla extract
- 2 cups (250g) All-purpose flour
- 2 Tablespoons (16g) Cornstarch
- ¾ Teaspoon cardamom powder
- ¼ Teaspoon fine sea salt
- Coating:
- ¼ cup Granulated sugar
- ½ Teaspoon cardamom powder
- Filling:
- ½ cup mango curd
Cookie Recipes You May Like
Step-by-Step Instructions
Step 1: Grab your electric mixer or hand whisk, then beat the softened butter with the white sugar and vanilla extract on medium speed until the mixture looks creamy and fluffy – so let it go for a minute.
Step 2: In another medium bowl, whisk together the flour, cornstarch, cardamom powder, and salt — this ensures the spices don’t clump in one spot.
Step 3: Add the dry mix to your butter mixture on low speed. Just mix until the flour disappears. The first part might look a little crumbly, but just use your hands to press it together into a rough ball.
Step 4: Wrap the dough tightly in plastic wrap and put it in the fridge for at least an hour. (Tip: don’t skip this step. If you do, the cookies will spread out and turn into flat pancakes in the oven)
Step 5: While the dough cools, take a small bowl and mix ¼ cup of sugar with ½ teaspoon of cardamom.
Step 6: Take about a tablespoon (15 grams) of the dough and roll it into a smooth ball. Roll each ball in the cardamom sugar mixture until it’s well coated. Place them on a baking sheet lined with parchment paper, leaving about 1.5 inches of space between each one.
Step 7: Use your thumb to gently press and create a hole in the center of each ball, then fill each hole with about half a teaspoon of mango cream – if the cream is too thick, pop it in the microwave for about 10 seconds to soften it.
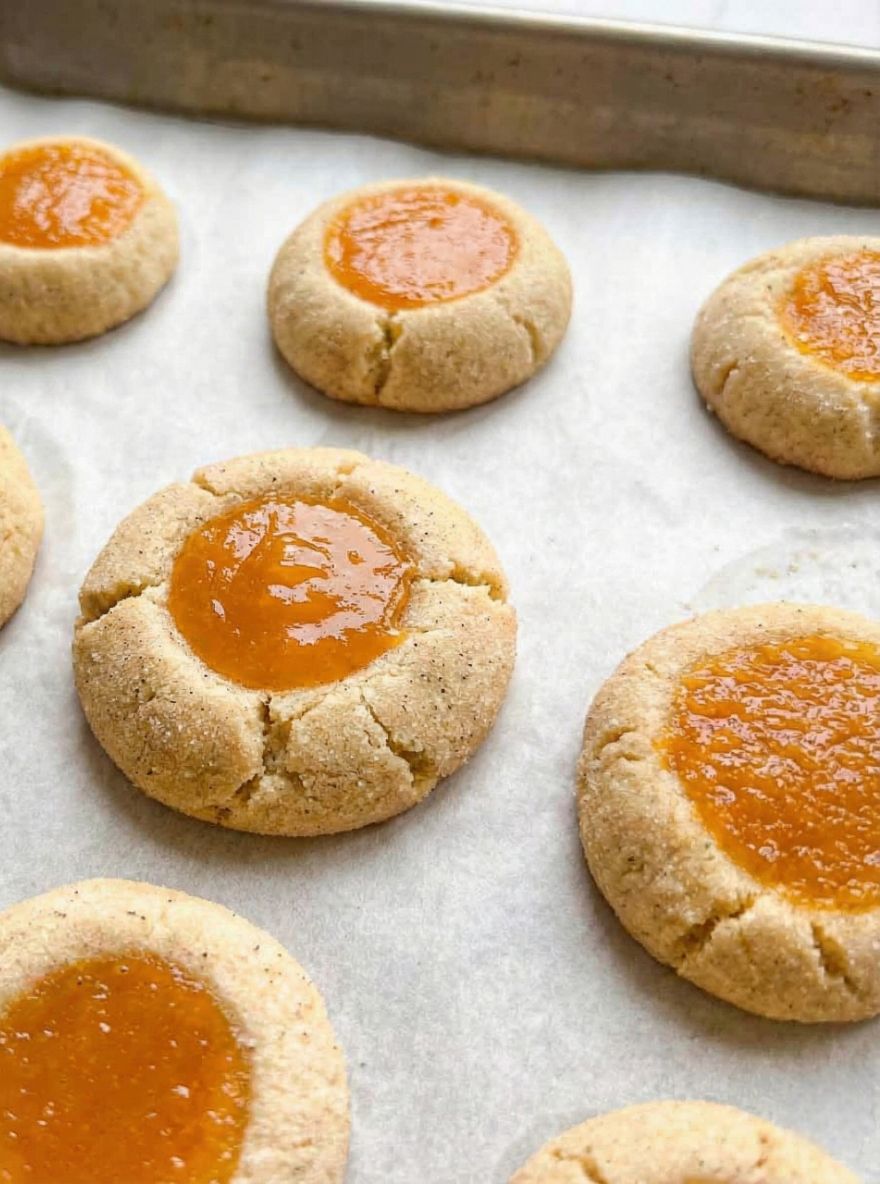
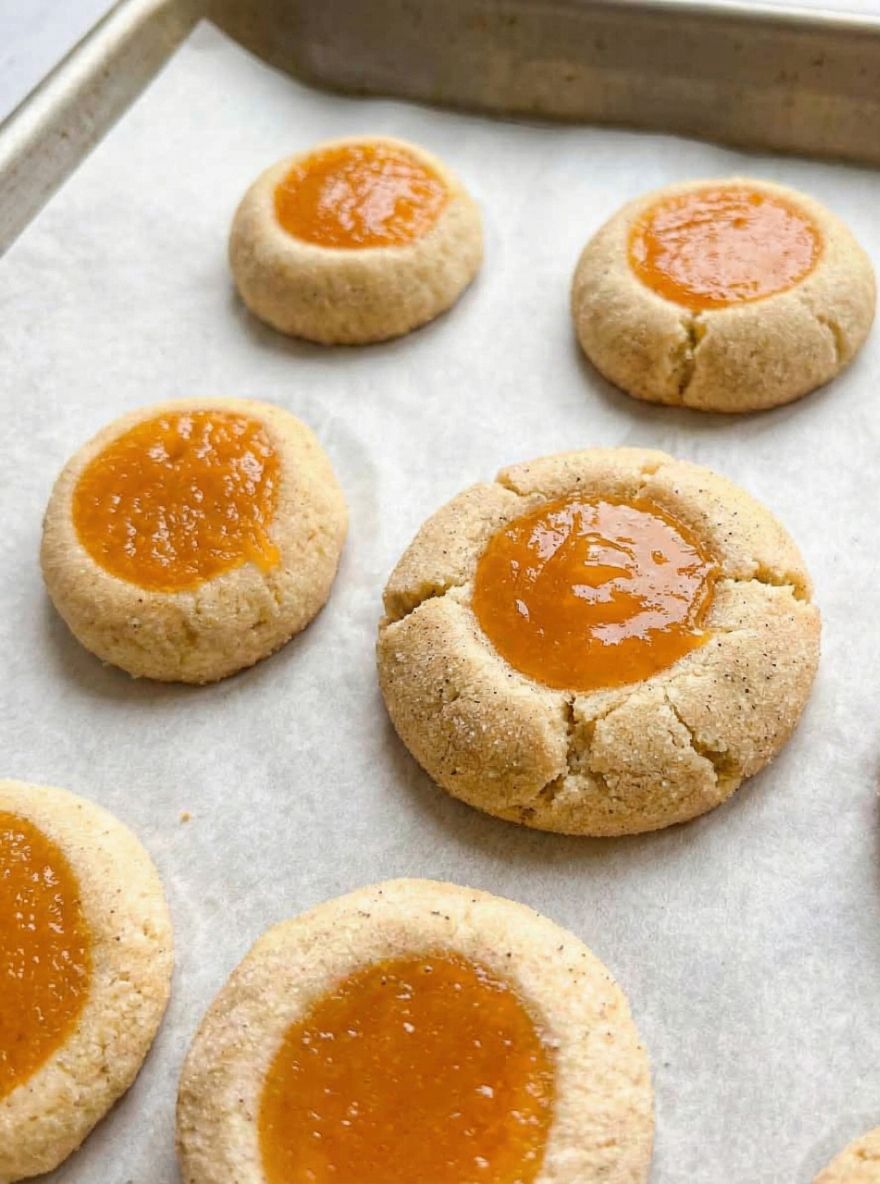
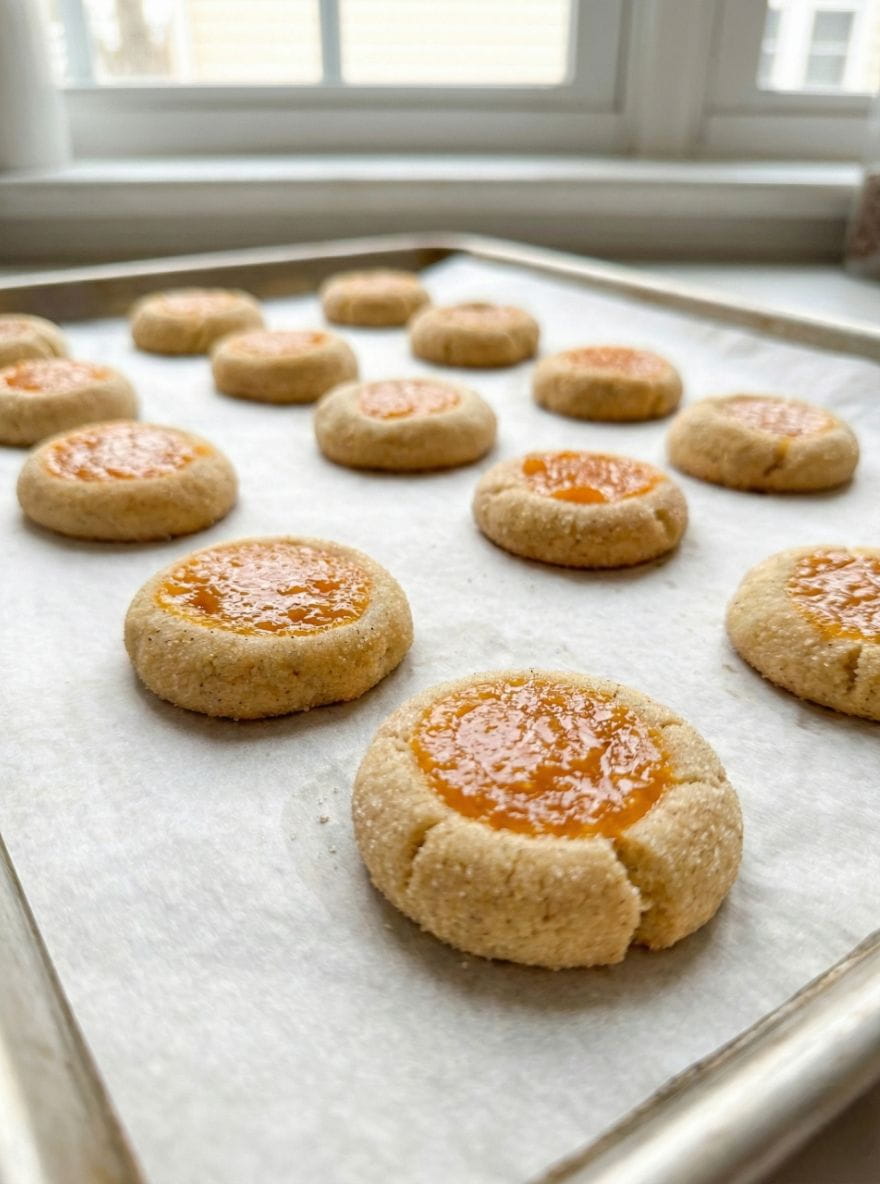
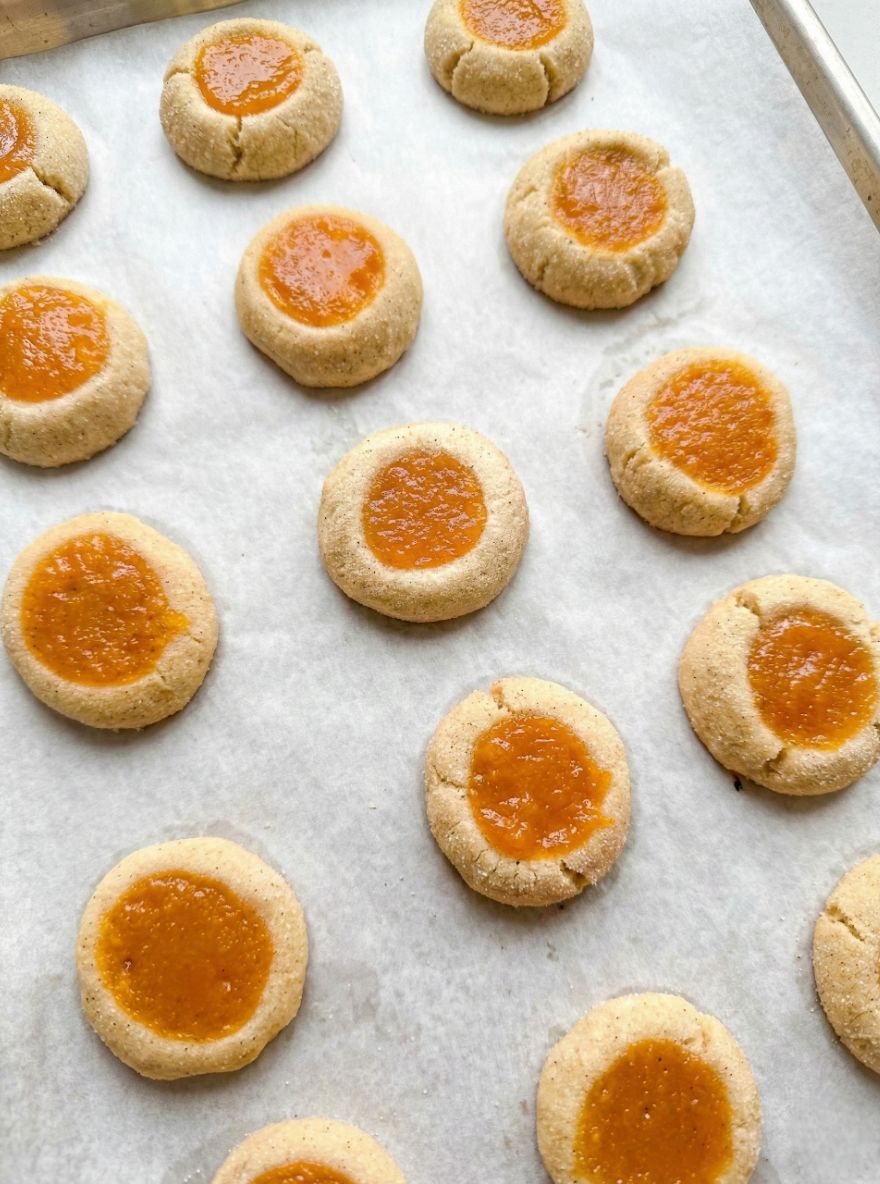
Step 8: Put the tray back in the fridge for 15 minutes while the oven heats up to 350°F (175°C). Bake it on the middle rack for 11 to 13 minutes, rotating the tray halfway through. Let it cool on the tray for 5 minutes before moving it to a wire rack to cool completely.
Cookie Recipes You May Like Also
Why you’ll love this recipe
I think you’ll really enjoy these cardamom mango thumbprint cookies because they look amazing but are actually not hard to make. It’s nice to have something fruity and spiced instead of always going for chocolate. Plus, pressing those little thumbprints is honestly fun – it’s a cheap way to make something that looks a bit special. Let me know in the comments if you try them!
Cardamom Mango Thumbprint Cookies
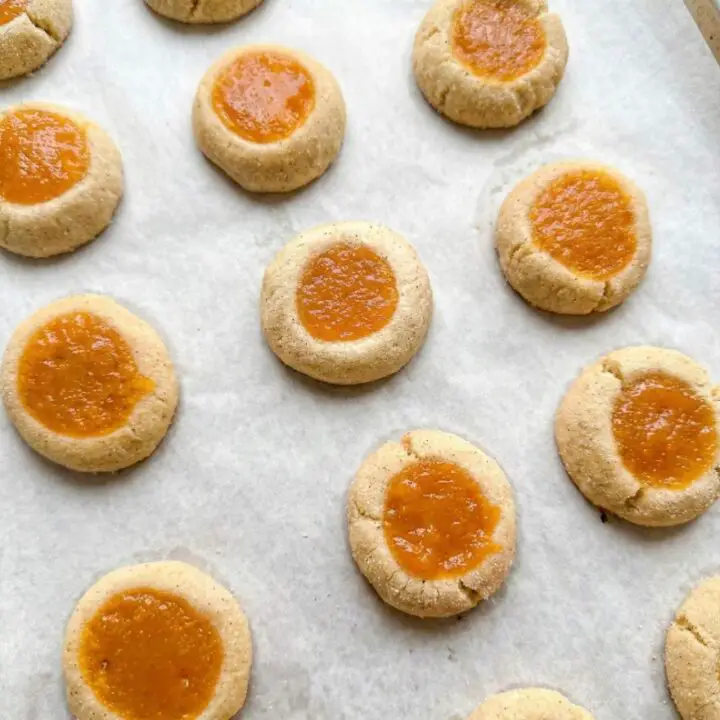
Cardamom mango thumbprint cookies are soft, buttery, and coated with spiced sugar. They're filled with bright mango cream, adding a perfect tropical twist to a beloved classic recipe.
Ingredients
Dough
- 12 Tablespoons (168g) unsalted butter, softened
- ⅔ cup (140g) Granulated sugar
- 1 Teaspoon vanilla extract
- 2 cups (250g) All-purpose flour
- 2 Tablespoons (16g) Cornstarch
- ¾ Teaspoon cardamom powder
- ¼ Teaspoon fine sea salt
Coating
- ¼ cup granulated sugar
- ½ Teaspoon cardamom powder
Filling
- ½ cup mango curd
Instructions
- Grab your electric mixer or hand whisk, then beat the softened butter with the white sugar and vanilla extract on medium speed until the mixture looks creamy and fluffy – so let it go for a minute.
- In another medium bowl, whisk together the flour, cornstarch, cardamom powder, and salt — this ensures the spices don’t clump in one spot.
- Add the dry mix to your butter mixture on low speed. Just mix until the flour disappears. The first part might look a little crumbly, but just use your hands to press it together into a rough ball.
- Wrap the dough tightly in plastic wrap and put it in the fridge for at least an hour. (Tip: don’t skip this step. If you do, the cookies will spread out and turn into flat pancakes in the oven)
- While the dough cools, take a small bowl and mix ¼ cup of sugar with ½ teaspoon of cardamom.
- Take about a tablespoon (15 grams) of the dough and roll it into a smooth ball. Roll each ball in the cardamom sugar mixture until it’s well coated. Place them on a baking sheet lined with parchment paper, leaving about 1.5 inches of space between each one.
- Use your thumb to gently press and create a hole in the center of each ball, then fill each hole with about half a teaspoon of mango cream – if the cream is too thick, pop it in the microwave for about 10 seconds to soften it.
- Put the tray back in the fridge for 15 minutes while the oven heats up to 350°F (175°C). Bake it on the middle rack for 11 to 13 minutes, rotating the tray halfway through. Let it cool on the tray for 5 minutes before moving it to a wire rack to cool completely.
Notes
- Don't skip the chilling steps. Keeping the dough cold makes sure the cookies hold their shape and don’t spread out too flat.
- For storage, keep it at room temperature in a tightly sealed container for up to one week.
- You can freeze these for 2-3 months if they're wrapped tightly. Make sure to thaw them before eating.
Cookie Recipes You May Like
Nutrition Information
Yield
20Serving Size
1Amount Per ServingCalories ~160Total Fat ~6gSaturated Fat ~3gUnsaturated Fat 3gCholesterol ~18mgSodium ~80mgCarbohydrates ~30gFiber 1gSugar 12gProtein 3g