
I first made a version of this Butterfinger Balls Recipe for a work potluck years ago, mostly because I had a ton of leftover candy and wanted to bring something easy. I didn’t think much of it, but people went absolutely nuts for them. Now, years later, they’re ‘my thing.’ The single biggest lesson I learned after that first messy attempt was getting the filling practically frozen before letting it anywhere near warm chocolate. It’s not an optional step; it’s the whole game.
Ingredients for This Butterfinger Balls Recipe
The shopping list for these is dangerously simple. You probably have most of what you need already, which is why they’re so easy to make whenever a craving hits. No weird, one-off ingredients you buy once and then shove to the back of the pantry forever.
- 1 cup (240g) creamy peanut butter
- 8 oz (226g) cream cheese, that’s been sitting on the counter for a bit
- 1/4 cup (57g) unsalted butter, also softened up
- 3 cups (360g) powdered sugar
- 10 full-size Butterfinger candy bars (the 1.9 oz ones are great), crushed
- 16 oz (450g) chocolate melting wafers or a bag of good chocolate chips

Making the Butterfinger Balls (My Way)
This is how I do it. It’s more of a fun project than a strict baking endeavor. Let’s make a mess.
Step 1: Create the Creamy Base
First things first, I toss the soft cream cheese, butter, and peanut butter into my mixer’s bowl. A hand mixer works just as well. I just let it go for a minute or two until it looks like a single, fluffy, peanut-buttery cloud. You don’t want any of those little cream cheese lumps hiding in there.
Step 2: Add the Sweetness and Crunch
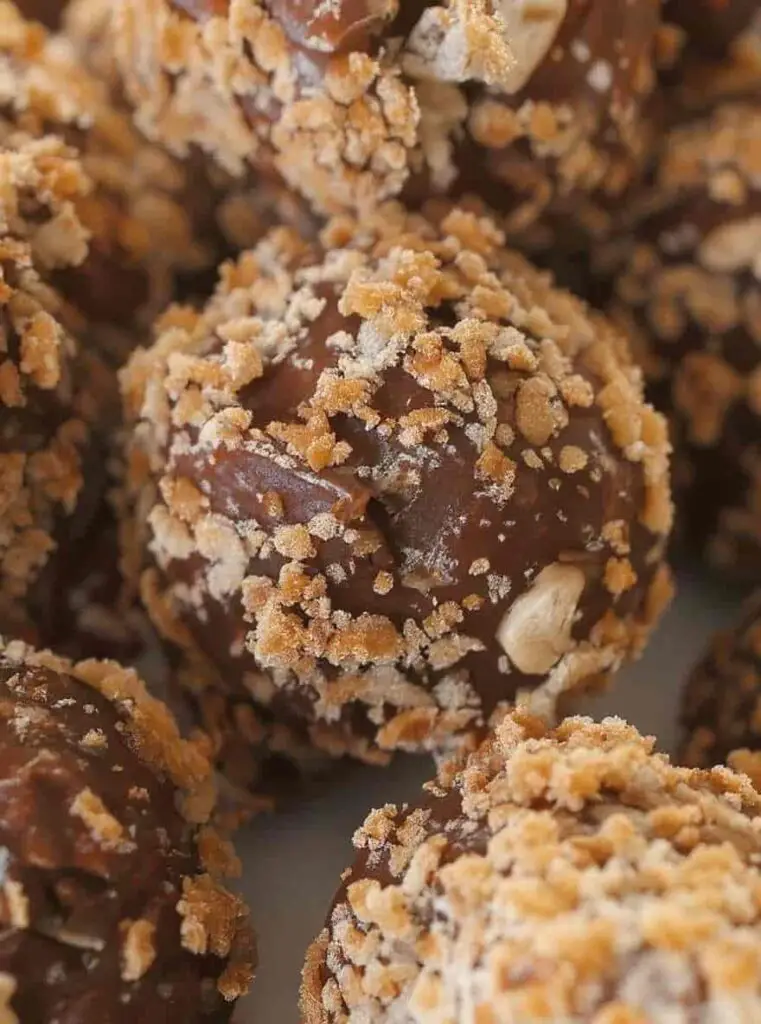
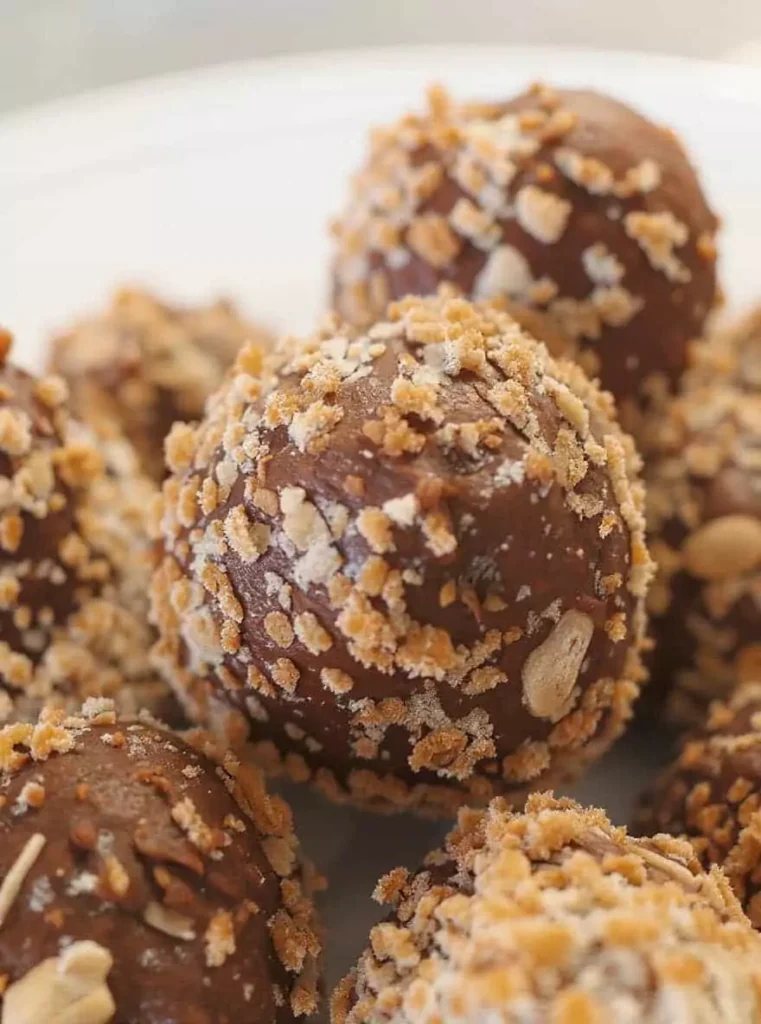
I turn the mixer way down low before adding the sugar—a lesson you only need to learn once if you enjoy cleaning sugar off your ceiling. Once that’s mixed in, it’s time for the best part. I crush the Butterfingers in a zip-top bag with a rolling pin. Don’t grind them into dust! You want nice, crunchy bits. I save a little handful for the topping, then fold the rest in with a spatula so the candy doesn’t break up too much.
Step 3: Scoop and Roll the Balls
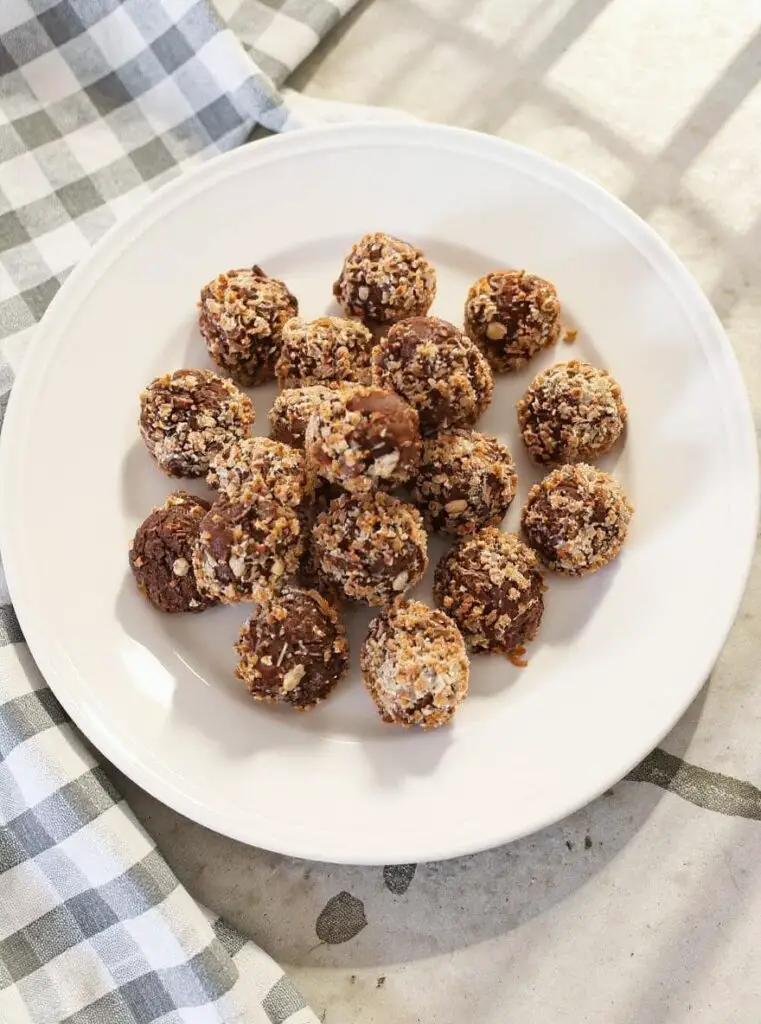
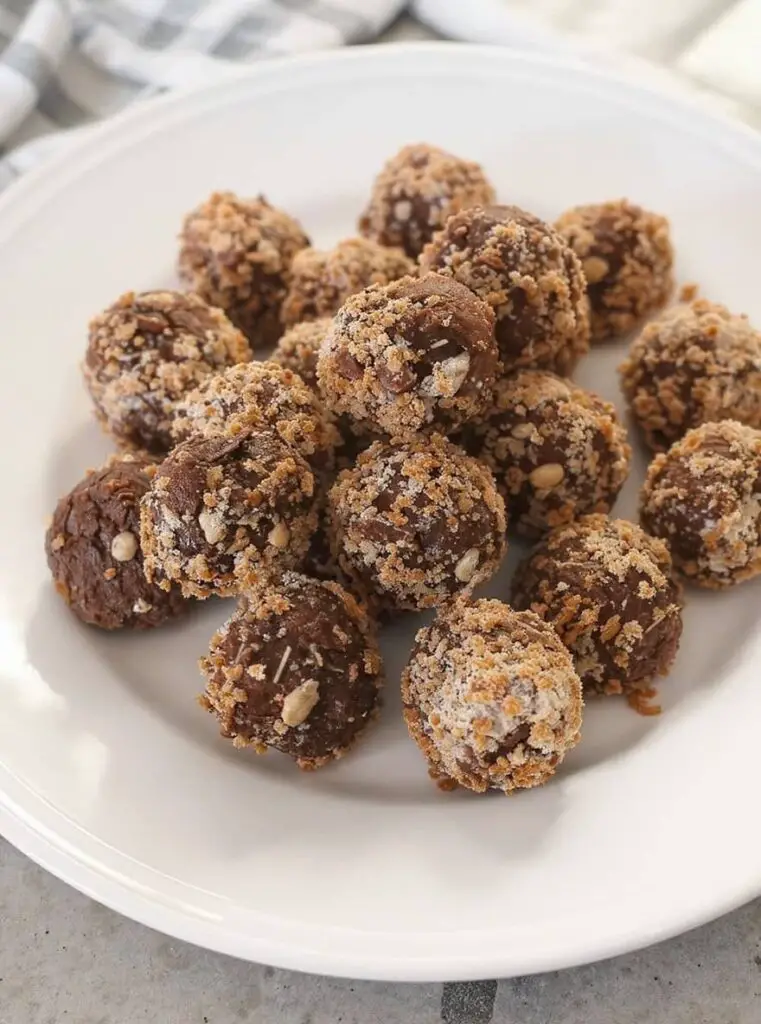
Parchment paper on a cookie sheet is your friend here, trust me. I use a small cookie scoop to keep them from being wildly different sizes, but a spoon is fine. Scoop a blob, roll it quickly in your hands—your hands will get messy, it’s part of the charm—and pop it on the sheet. They don’t have to be perfect little spheres.
Step 4: The All-Important Chill Time
Okay, this is the key. Straight into the freezer they go. No shortcuts. Give them a solid 30-45 minutes in there. They need to be really firm to the touch. If they’re soft, they’ll just fall apart in the warm chocolate and you’ll be sad. Go watch an episode of something on TV or scroll on your phone. Let them chill.
Step 5: Melt the Chocolate Coating
When the timer is almost up, I melt the chocolate. The microwave is easiest. I do it in a glass bowl in short 30-second bursts, stirring between each one. The second it looks smooth, stop. A little secret I always do is stir in a tiny bit of coconut oil at the end. It just makes the chocolate so much glossier and easier to dip with.
Step 6: Dip and Decorate
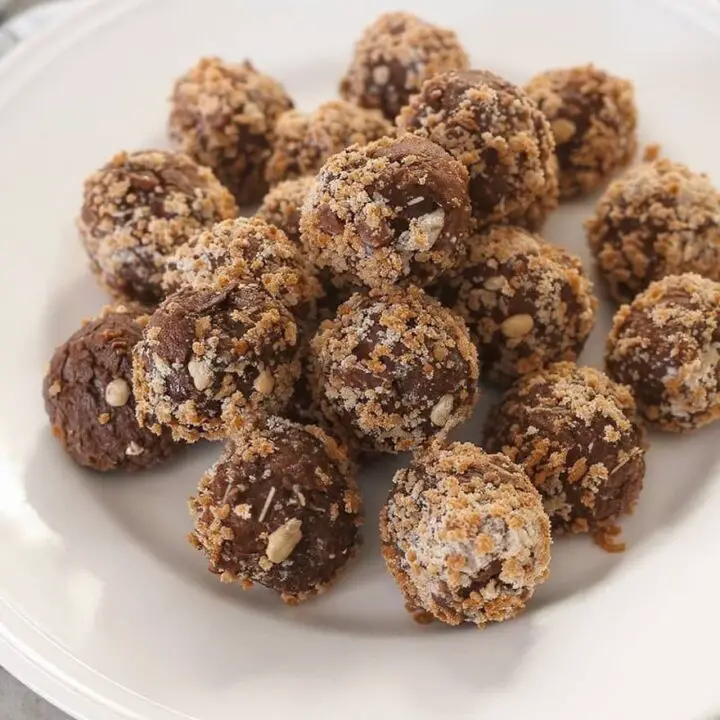
I pull the tray from the freezer and try to work fairly quickly so the balls stay cold. My method is to use two forks. I drop a ball in the chocolate, use the forks to roll it around, and then lift it out, tapping the fork on the edge of the bowl to get the extra chocolate off. Then I just slide it back onto the parchment paper. While the chocolate is still wet, I sprinkle those Butterfinger crumbs I saved earlier right on top.
Step 7: The Final Set
Once they’re all dipped and looking pretty, the whole tray goes back into the fridge. It only takes about 20 minutes for the chocolate shell to get perfectly hard and crisp. That’s it. You’re done. They’re ready.
Recipes You May Like
Seriously, You Should Make These
I’m not exaggerating when I say these things vanish wherever I take them. They’re just the perfect bite—salty, sweet, crunchy, and creamy all at once. I really hope you make this Butterfinger Balls Recipe. If you do, tell me about it in the comments! I love hearing the stories—like if you made them for a party, or if you just hoarded them in the back of your own fridge for emergencies (no judgment here!).
Butterfinger Balls Recipe
My famous Butterfinger Balls Recipe! An easy no-bake candy treat with a creamy peanut butter center and a crunchy chocolate shell.
Ingredients
- 1 cup creamy peanut butter
- 8 oz cream cheese softened
- 1/4 cup unsalted butter softened
- 3 cups powdered sugar
- 10 full-size Butterfinger candy bars crushed
- 16 oz chocolate melting wafers or chocolate chips
Instructions
Step 1
Dump the peanut butter soft cream cheese and butter in a bowl and beat it all together until its super creamy no lumps
Step 2
Add the powdered sugar a bit at a time then gently stir in the crushed candy just dont break it up too much save some for the tops
Step 3
Get your hands a little messy and roll the filling into small balls whatever size you like put them all on a baking sheet lined with paper
Step 4
The whole tray goes in the freezer for a good half hour really they need to be cold and hard or dipping is gonna be a disaster
Step 5
While they chill zap your chocolate in the microwave do it in little 30 second rounds and stir each time so it gets perfectly melty
Step 6
Use a fork to dip each frozen ball in the chocolate let the extra drip away then slide it onto the paper throw some candy crumbs on top before the chocolate sets
Step 7
One last chill in the fridge for 20 minutes is all they need for that perfect crackle when you bite into them then youre done