
Seriously, you guys HAVE to try this. I remember the first time I heard about making a cake with sweetened condensed milk. I was like, “Huh? The stuff from the can?” I honestly didn’t expect much. But oh. my. goodness. That first bite was a revelation! How could something so simple be SO ridiculously moist and delicious? This condensed milk cake instantly shot to the top of my favorites list. I’ve baked it countless times since then, tweaking little things here and there until it was just right. It’s my secret weapon for potlucks, my comfort bake on rainy days, and proof that amazing cake doesn’t need to be complicated. Ready to be amazed?
Ingredients List: The Magic Pantry Pull
The best part? You probably have most of this stuff already! No weird, hard-to-find ingredients here, just pantry staples ready to become something amazing. That can of condensed milk is the real MVP, though.
- All-Purpose Flour: You’ll need 1 ½ cups (about 180g). Standard stuff!
- My two cents: If you happen to have cake flour, it makes it even more tender, but honestly, regular all-purpose works beautifully. Gluten-free? A good 1:1 blend should work fine too.
- Baking Powder: 1 ½ teaspoons. Gives it that nice poof! Check that expiration date – old baking powder is sad baking powder.
- Salt: Just ½ teaspoon. It doesn’t make the cake salty, it just makes everything else taste better.
- Unsalted Butter: ½ cup (that’s one stick, or 113g), and make sure it’s soft! Like, leave-it-on-the-counter-for-an-hour soft. It makes a difference, trust me.
- Swapsies: Salted butter works in a pinch, just maybe cut back the added salt a tiny bit. I haven’t tried it with margarine or oil myself for this one, as I love the buttery flavour here.
- Granulated Sugar: ½ cup (100g). Yep, only half a cup! That condensed milk brings a lot of sweetness to the party. If you like things less sweet, you might even get away with slightly less, but I like it just like this.
- Eggs: 2 large ones. Please, please let them hang out on the counter with the butter for a bit? Room temp eggs just mix in so much better. It’s a small thing that helps!
- Vanilla Extract: 1 teaspoon. The good stuff if you have it! Pure vanilla extract just smells like happiness.
- Feeling adventurous? A little almond extract is lovely too, or even some finely grated lemon zest for a fresh zing!
- Sweetened Condensed Milk: The star! ½ cup (which is roughly half a standard 14oz can). This is where the magic happens – it guarantees incredible moisture and adds this subtle, almost caramelly background note. I always use the full-fat kind for ultimate richness. Don’t skimp here!
- Milk: Just ¼ cup (60ml). Whole milk is fab, but honestly, whatever milk you have in the fridge (low-fat, almond, soy) will likely be fine. It just helps get the batter to the right consistency.
Timing: Faster Than You’d Think!
One reason I adore this recipe? It’s FAST. Like, “oops I forgot I promised dessert” fast. No fussy layers, just pure, simple speed.
- Getting Ready (Prep): Takes me maybe 15-20 minutes? Basically, the time it takes to measure everything out while the oven preheats and maybe hum along to some music.
- Baking Time: Usually around 30-40 minutes in my oven. Ovens are quirky beasts, though, so start checking around the 30-minute mark.
- Total Time: You’re looking at roughly an hour from starting to pulling it out of the oven, plus cooling (don’t skip the cooling!). Compared to some fancy cakes, making this easy condensed milk cake feels like a breeze. Perfect for when you want homemade goodness without blocking out your whole afternoon.
Step-by-Step Instructions: Let’s Bake This Beauty!
Okay, deep breath, you’ve got this! It’s super straightforward. Let’s make this incredible condensed milk dessert together.
Step 1: Get Your Bake On! (Prep Time)
First up, get that oven heating up to 175∘C (350∘F). Find yourself an 8-inch pan (round or square, whatever floats your boat). Give that pan some love – grease it well with butter or spray, then give it a little dusting of flour. Tap out the extra so you don’t get floury patches.
- My fave trick: I almost always line the bottom with parchment paper too. Seriously saves so much stress later when you’re trying to get the cake out cleanly. Just trace the bottom, cut it out, and pop it in after greasing.
Step 2: The Dry Crew (Whisk it Good!)
In a bowl (medium-sized is good), whisk together the flour, baking powder, and salt. Don’t just stir – give it a proper whisk! It helps lighten the flour up and makes for a fluffier cake. Set that aside for a minute.
Step 3: The Fluffy Butter Cloud (Creaming Magic)
Okay, grab your big bowl and an electric mixer (handheld or stand mixer, both work!). Toss in that softened butter and the sugar. Now, beat ’em together on medium speed for a good 2-3 minutes. You’re looking for it to get noticeably lighter in colour and really fluffy. This step whips air into the batter, which is super important for a good texture. Don’t cut it short!
Step 4: Egg Time! (One by One)
Crack in your room-temp eggs, but add them one at a time. Beat well after each egg until it’s totally mixed in before adding the next. Sometimes I scrape down the sides of the bowl with a spatula here to make sure no butter-sugar mix is hiding. Once the eggs are happy, beat in the vanilla. Smell that? Yum.
Step 5: Liquid Gold (The Star Arrives!)
Here it comes! Pour in that glorious sweetened condensed milk. Turn the mixer down to low (trust me, low speed unless you want a splash zone) and mix just until it’s combined. The batter will look even richer now. This stuff is the secret to why this is such a moist cake recipe!
Step 6: Bringing it Home (Easy Does It!)
Alright, final mixing stage. We’re going to alternate adding the dry ingredients and the milk. Start by adding about a third of your flour mixture. Mix on low until just barely combined. Then pour in about half the milk, mix gently. Add another third of the flour mix, mix. Add the rest of the milk, mix. Finally, add the last bit of flour mixture.
- Super Important Tip: The second you don’t see big streaks of flour anymore, STOP MIXING. Seriously. Overmixing is the enemy of tender cake. It makes it tough. Be gentle!
Step 7: Bake Time! (The Magic Happens)
Pour that gorgeous, thick batter into the pan you prepped earlier. Smooth the top a little with your spatula so it bakes evenly. Now, carefully slide it into your hot oven. Let it bake for 30-40 minutes. You’ll know this delicious condensed milk cake is done when it’s golden brown on top, feels springy when you gently press the center, and the classic test: a toothpick stuck in the middle comes out clean. Your kitchen is going to smell amazing.
Step 8: Cool Down & Dress Up (Patience, Young Padawan!)
Yay, it’s baked! Don’t try and pry it out immediately though. Let the cake cool in the pan on a wire rack for about 10-15 minutes first. It helps it settle. Then, carefully flip it out onto the wire rack to cool the rest of the way.
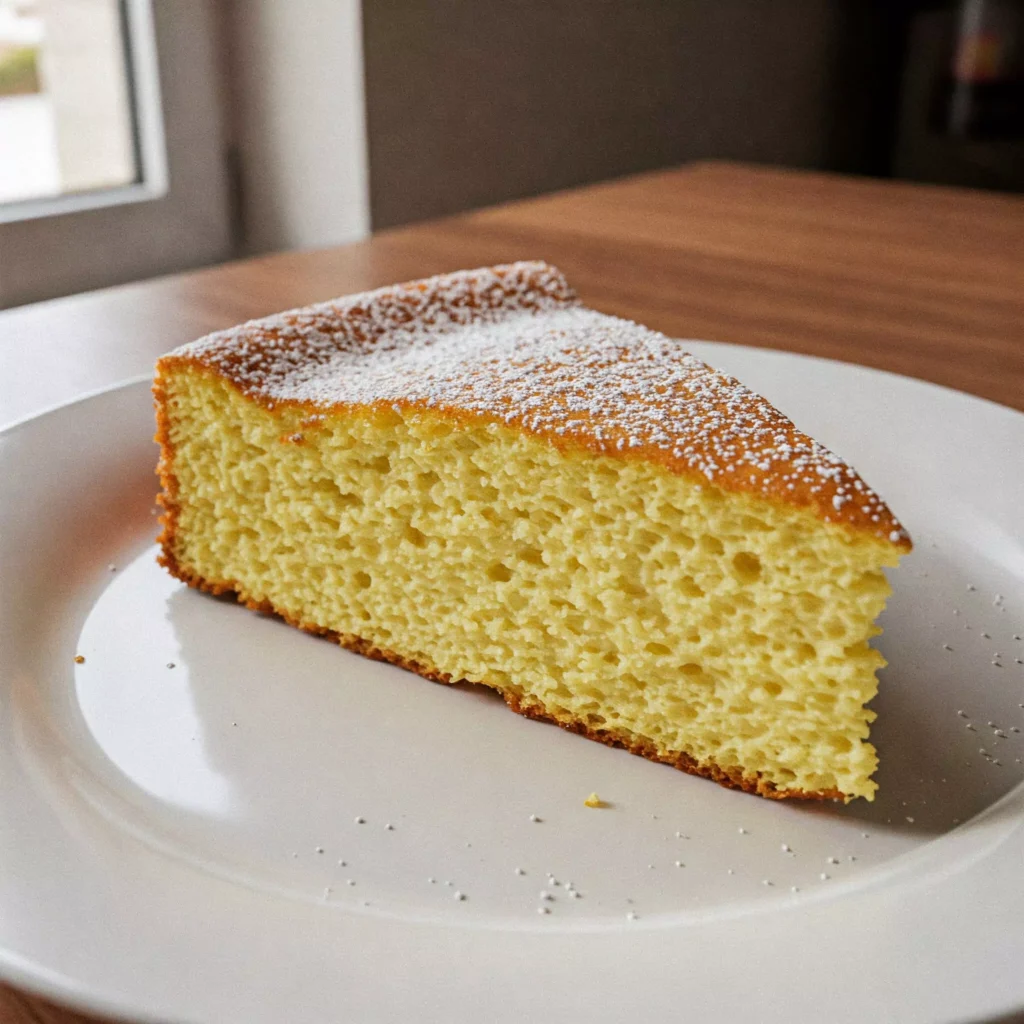
- Making it Pretty: Honestly, this cake is fantastic naked. But a little glam never hurt! Once it’s totally cool, a simple shake of powdered sugar over the top looks super elegant and easy. Want a bit more? Mix about ½ cup powdered sugar with a tablespoon or two of milk (or lemon juice!) for a thin glaze you can drizzle over. I also love topping this condensed milk cake with fresh berries – strawberries are my fave – or a sprinkle of toasted coconut for a little texture. So pretty!
Recipes You May Like
Serving Suggestions: How I Love to Eat This Cake
Okay, the best part – eating it! This condensed milk cake is amazing just as it is, maybe with a cup of tea or coffee. But if you want to jazz it up…
- My Go-To: A slightly warm slice with a scoop of good vanilla ice cream melting into it? Heaven. Pure heaven.
- Berry Good: Piling on fresh mixed berries and maybe a little whipped cream feels fancy but is zero effort.
- Saucy: A drizzle of caramel sauce takes it into dessert territory with capital letters. Chocolate sauce works wonders too!
- Simple Comfort: Sometimes, just a plain slice is exactly what you need. No judgment here!
- Party Time: Because it’s sturdy and travels well, I make this for gatherings all the time. Just slice it up before you go! This homemade cake really is a winner for any occasion.
Storing Tips: Keeping Your Cake Happy
If, by some miracle, you have leftover condensed milk cake, here’s how to keep it tasting great:
- On the Counter: Once it’s totally cool, pop it into an airtight container. It’ll stay lovely and moist for about 2-3 days right on your counter. This is usually my plan A.
- In the Fridge: If your kitchen is super warm, or if you’ve added whipped cream/fruit, the fridge is safer. Again, airtight container! It might last up to 5 days, but sometimes fridges can dry cake out a bit. I like to let fridge cake sit out for 20 mins or so before eating.
- Freeze It!: Yep! This cake freezes beautifully. Wrap the whole cooled cake (or individual slices) really well in plastic wrap, then maybe a layer of foil or toss it in a freezer bag. It’s good for up to 3 months! Just thaw it in the fridge overnight or on the counter for a few hours. Properly storing your condensed milk cake means future you gets a treat!
Why I’m Honestly Obsessed With This Cake
Okay, can you tell I love this cake? It’s just… reliable. It’s easy. It uses ingredients I always have. And the payoff is HUGE. That sweetened condensed milk creates this texture – moist, tender, almost velvety – that you just don’t get otherwise in such a simple recipe. It’s like a magic trick in a baking pan.
It’s not overly fancy, but it feels special. It’s the perfect “little something sweet” after dinner, or with morning coffee. It’s become one of those recipes I don’t even need to look up anymore, and making it just feels comforting. It’s baking therapy that results in an insanely delicious condensed milk cake.
Seriously, go make this! You won’t regret it. And PLEASE, if you do bake it, pop back here and leave a comment! Tell me how it went! Did you love it? Did you change anything? Did you add chocolate chips (because that sounds amazing!)? I genuinely get so excited hearing about your baking wins. Happy baking, everyone!
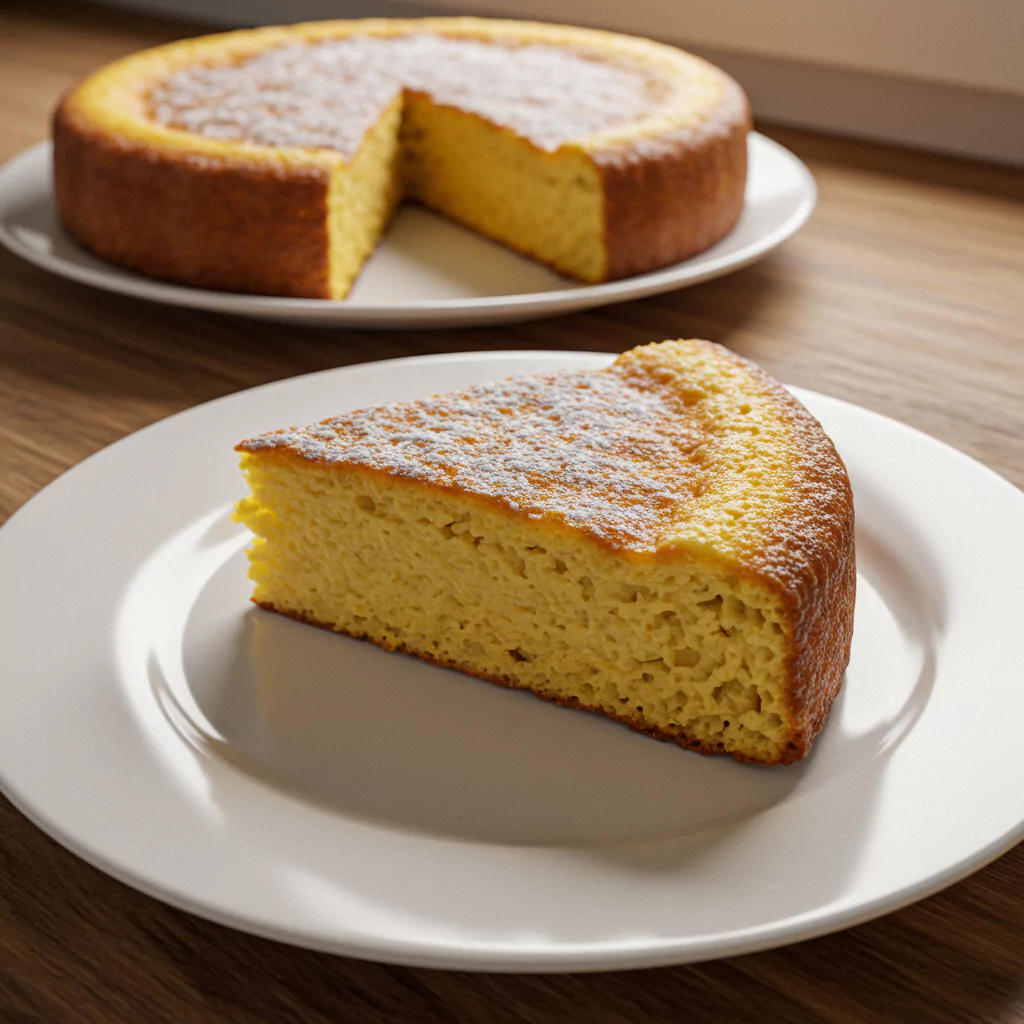
Condensed Milk Cake

Amazingly moist & easy homemade Condensed Milk Cake recipe! Simple steps for a perfect sweet treat your family will love. Get the recipe now!
Ingredients
- 1 ½ cups All-Purpose Flour (or cake flour foor extra tenderness)
- 1 ½ tsp Baking Powder (make sure it's fresh!)
- ½ tsp Salt (just a pinch!)
- ½ cup (1 stick) Unsalted Butter (softened on the counter)
- ½ cup Granulated Sugar (just enough sweetness)
- 2 large Eggs (happiest at room temp!)
- 1 tsp Vanilla Extract (the good stuff!)
- ½ cup Sweetened Condensed Milk (the magical ingredient!)
- ¼ cup Milk (any kind works!)
Instructions
Step 1: Get Your Bake On! (Prep Time)
First up, get that oven heating up to 175∘C (350∘F). Find yourself an 8-inch pan (round or square, whatever floats your boat). Give that pan some love – grease it well with butter or spray, then give it a little dusting of flour. Tap out the extra so you don’t get floury patches.
- My fave trick: I almost always line the bottom with parchment paper too. Seriously saves so much stress later when you’re trying to get the cake out cleanly. Just trace the bottom, cut it out, and pop it in after greasing.
Step 2: The Dry Crew (Whisk it Good!)
In a bowl (medium-sized is good), whisk together the flour, baking powder, and salt. Don’t just stir – give it a proper whisk! It helps lighten the flour up and makes for a fluffier cake. Set that aside for a minute.
Step 3: The Fluffy Butter Cloud (Creaming Magic)
Okay, grab your big bowl and an electric mixer (handheld or stand mixer, both work!). Toss in that softened butter and the sugar. Now, beat ’em together on medium speed for a good 2-3 minutes. You’re looking for it to get noticeably lighter in colour and really fluffy. This step whips air into the batter, which is super important for a good texture. Don’t cut it short!
Step 4: Egg Time! (One by One)
Crack in your room-temp eggs, but add them one at a time. Beat well after each egg until it’s totally mixed in before adding the next. Sometimes I scrape down the sides of the bowl with a spatula here to make sure no butter-sugar mix is hiding. Once the eggs are happy, beat in the vanilla. Smell that? Yum.
Step 5: Liquid Gold (The Star Arrives!)
Here it comes! Pour in that glorious sweetened condensed milk. Turn the mixer down to low (trust me, low speed unless you want a splash zone) and mix just until it’s combined. The batter will look even richer now. This stuff is the secret to why this is such a moist cake recipe!
Step 6: Bringing it Home (Easy Does It!)
Alright, final mixing stage. We’re going to alternate adding the dry ingredients and the milk. Start by adding about a third of your flour mixture. Mix on low until just barely combined. Then pour in about half the milk, mix gently. Add another third of the flour mix, mix. Add the rest of the milk, mix. Finally, add the last bit of flour mixture.
- Super Important Tip: The second you don’t see big streaks of flour anymore, STOP MIXING. Seriously. Overmixing is the enemy of tender cake. It makes it tough. Be gentle!
Step 7: Bake Time! (The Magic Happens)
Pour that gorgeous, thick batter into the pan you prepped earlier. Smooth the top a little with your spatula so it bakes evenly. Now, carefully slide it into your hot oven. Let it bake for 30-40 minutes. You’ll know this delicious condensed milk cake is done when it’s golden brown on top, feels springy when you gently press the center, and the classic test: a toothpick stuck in the middle comes out clean. Your kitchen is going to smell amazing.
Step 8: Cool Down & Dress Up (Patience, Young Padawan!)
Yay, it’s baked! Don’t try and pry it out immediately though. Let the cake cool in the pan on a wire rack for about 10-15 minutes first. It helps it settle. Then, carefully flip it out onto the wire rack to cool the rest of the way.
- Making it Pretty: Honestly, this cake is fantastic naked. But a little glam never hurt! Once it’s totally cool, a simple shake of powdered sugar over the top looks super elegant and easy. Want a bit more? Mix about ½ cup powdered sugar with a tablespoon or two of milk (or lemon juice!) for a thin glaze you can drizzle over. I also love topping this condensed milk cake with fresh berries – strawberries are my fave – or a sprinkle of toasted coconut for a little texture. So pretty!
Notes
Nutrition Information:
Yield:
Yields eight (8) yummy slicesAmount Per Serving:Calories: Approx. 400 calories per slice