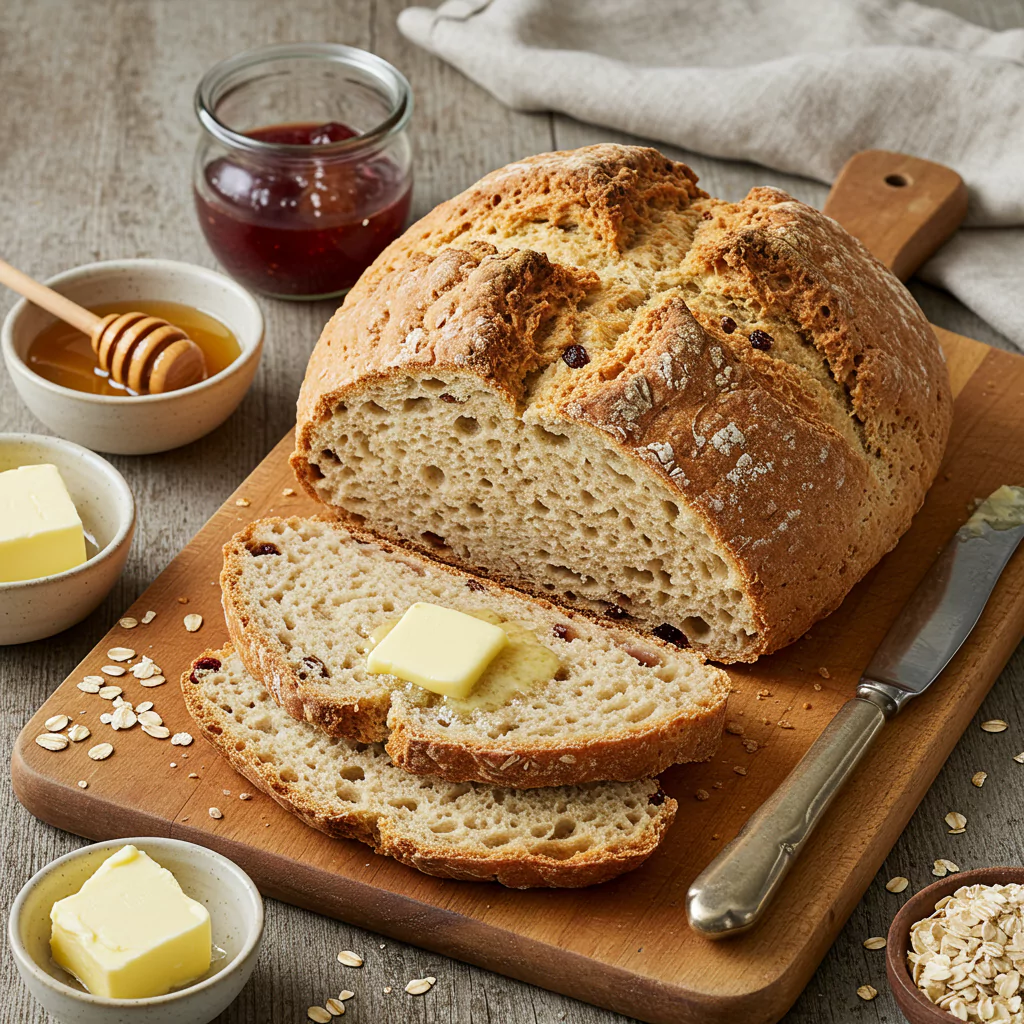
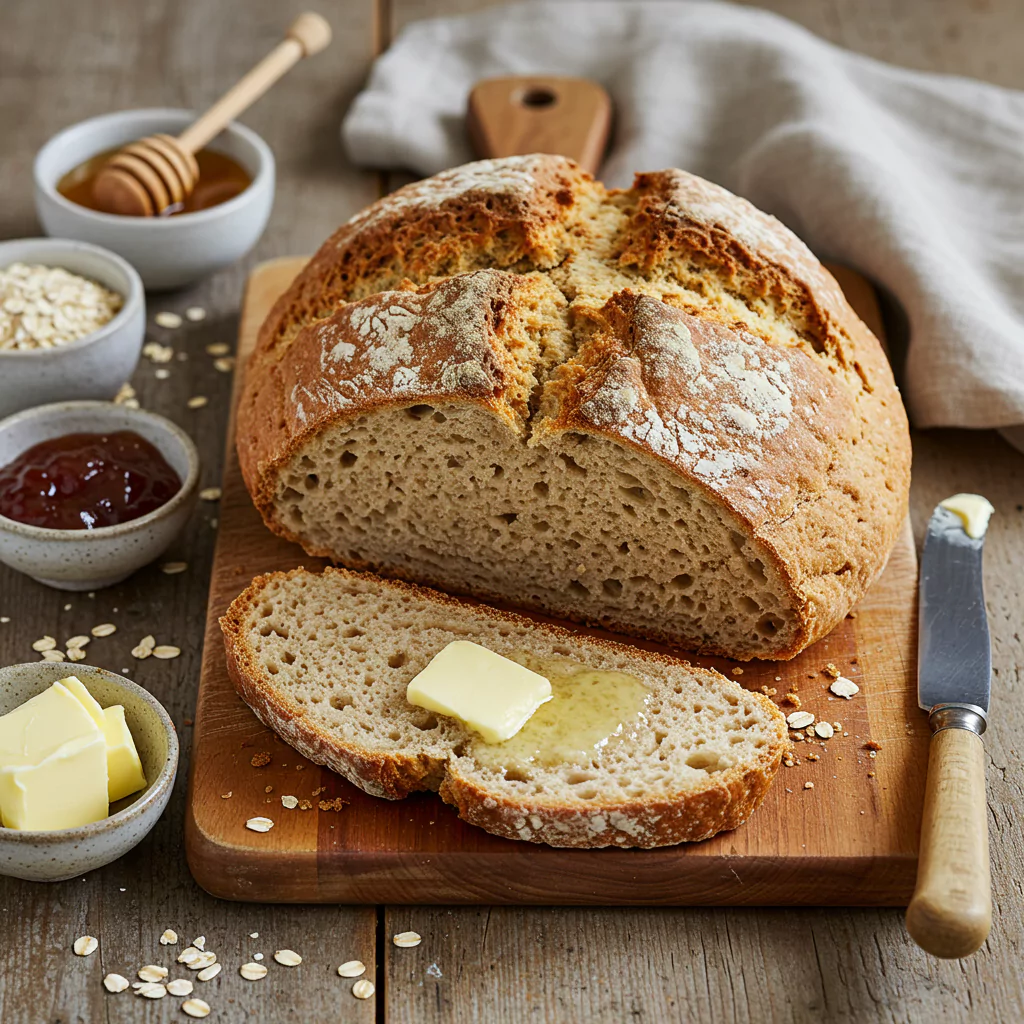
You need this soda bread in your life—right now. It’s my go-to recipe: simple, foolproof, and straight from Mary Berry, the queen herself. Plus, fun fact: it started in Ireland when baking soda made yeast-free bread possible. Total genius!
Quick Glance (If I Haven’t Distracted You Already):
- Faffing time: 10 mins, seriously, if that.
- Oven time: Half an hour, give or take.
- Result: Warm, crusty, glorious bread in under an hour.
- Stress level: Absolutely zero. It’s practically foolproof.
This Mary Berry soda bread recipe is just… easy joy. Pure and simple.
Okay, What Do You Actually Need? (Not Much, Promise!)
- Flour – 450g (about 3 cups) all-purpose
- Baking soda – 1 tsp
- Salt – 1 tsp
- Sugar – 1 tsp (optional)
- Buttermilk – 350ml (or milk + 1 tbsp lemon juice/vinegar)
Optional add-ins:
- Chopped herbs (rosemary, thyme, chives)
- Handful of raisins/cranberries (~50g)
- Grated cheddar (~50g)
Let’s DO This! Actually Making the Bread:
- Get That Oven HOT: Crank it up to 200°C (400°F / Gas 6). Find a baking sheet – chuck some baking paper on it or just give it a dusting of flour. Whatever’s easier.
- Dry Bits in a Bowl: Flour, bicarb, salt, sugar – dump ‘em in a big bowl. Whisk ‘em around with a fork or your fingers. Adding extras? Now’s the time! Stir them through.
- Wet Meets Dry: Make a little dip in the middle – like a volcano! Pour in most of the buttermilk (or your fake stuff!). Now, ditch the spoon, get your hands in there! It’s much easier to feel when it’s right. Mix just until it comes together into a sticky, shaggy dough. Seriously, DO NOT OVERMIX! That’s the killer of soda bread. It should look a bit messy. If it feels too dry, add that last splash of buttermilk.
- Shape (Loosely!): Flour your counter, tip the dough out. Don’t knead it! Just gently pat it into a rough round shape, maybe an inch or two thick. If it looks a bit wonky, who cares? That’s character! Plonk it onto your baking sheet.
- The Mark of the Cross & Bake! Grab a sharp knife. Cut a deep cross right across the top – go down a good way. Looks cool, helps it bake evenly. Right! Into the fiery furnace (okay, hot oven) it goes! For about 30 minutes. Keep an eye on it – you want it gorgeously golden brown. And the magic test? Carefully (it’s hot!) tap the bottom. If it sounds hollow… DING DING DING! You have bread! That sound is ridiculously satisfying.
- WAIT! (The Hardest Bit): Okay, slide it onto a wire rack. Now, I know it smells incredible. I KNOW you want to tear into it. But please, PLEASE wait 10-15 minutes. Just let it chill for a bit. If you cut it too soon, it can be a bit damp and gummy inside. Patience, grasshopper! Then… slice. Get the butter – LOTS of butter. Maybe jam? Honey? Cheese? Oh, just eat it warm. It’s heaven. Actual, edible heaven.
How We Devour It:
- With soup is non-negotiable. Must be dunked.
- Toasted the next morning with absolutely loads of butter melting in… drools.
- My kids just eat chunks of it plain, like cake. Weirdos.
- Amazing with cheese and pickles.
- Perfect sidekick to pretty much any stew or hearty meal.
Tip: Warmed up slightly just before serving? Oh yes.
If, By Some Miracle, You Have Leftovers…
- It’s truly best on day one. But…
- Once it’s totally cold, wrap it in a tea towel or pop it in a paper bag. NOT plastic – it goes soggy. Keeps okay for a day, maybe two.
- Freezes brilliantly! Slice it FIRST though. Seriously. Wrap it well. Grab slices as needed and toast from frozen. Future you will high-five current you.
- Don’t put it in the fridge. Stales faster. Science!
Go On, Play With Your Food!
Remember those add-ins? Chuck ’em in! Seeds add a nice crunch. Cheese and herbs are just good. Fruit and extra sugar make it almost a tea bread. Go nuts!
Honestly, just make this Mary Berry soda bread recipe. It’s so easy it feels like cheating the system. You get this amazing, rustic loaf, and you feel like a total baking rockstar with minimal effort. It’s the best feeling. Go on, give it a whirl! Let me know how it goes!