
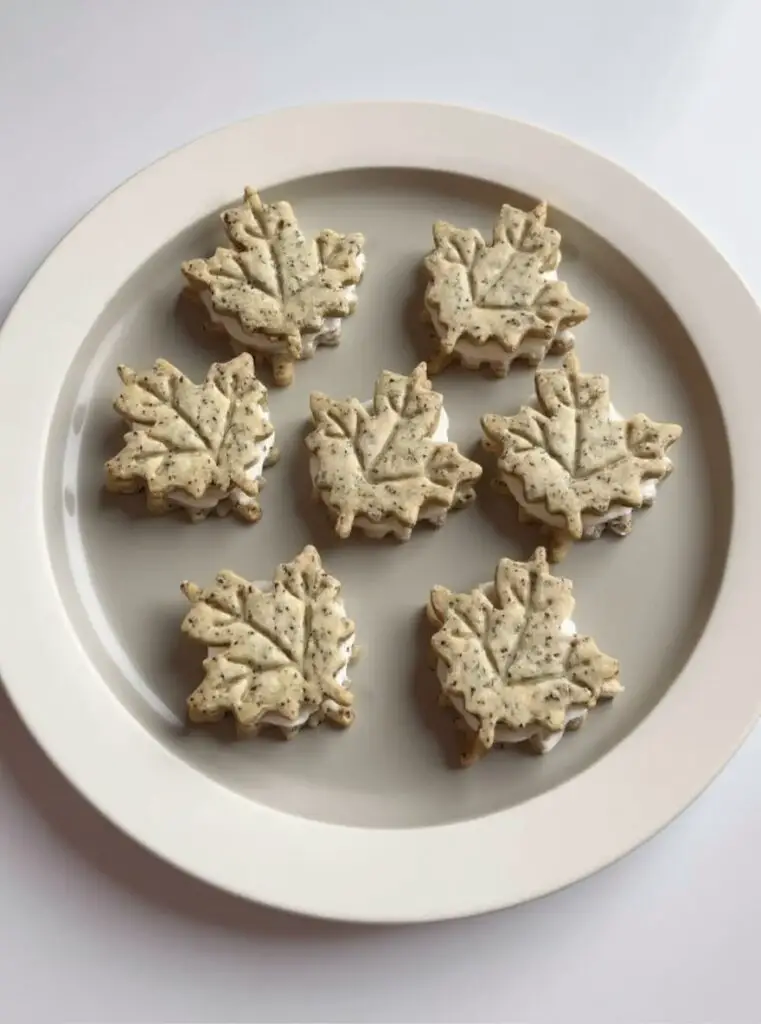
I’m so excited to share these Earl Grey Cream Cheese Sandwich Cookies with you! Just picture this!, a super crisp, buttery cookie that smells just like your favorite cup of Earl Grey tea. Then, you take two of those and add a rich, tangy cream cheese filling in the middle. The secret is that they’re gluten-free earl grey cookies because we are using rice and almond flour, which gives them this amazing ‘sakkusaku’ (that’s Japanese for ultra-crispy) texture. They’re my new favorite thing to have with an afternoon tea.
Ingredients
- 35g Unsalted Butter
- 10g Powdered Sugar
- 5g Soy Milk
- 35g Rice Flour
- 15g Almond Flour (Almond Poodle)
- 1.5g Earl Grey Tea (finely ground, from a tea bag is fine)
- 0.3g Salt (just a pinch)
- Approx. 40g Cream Cheese
- (Optional: 3g Sugar to mix with the cream cheese)
Recipes You May Like

Step-by-Step Instructions
Step 1: Go ahead and get your oven preheating to 160 degrees C (320°F) so it’s ready when you are.
Step 2: Grab a bowl and a spatula. You will want to smush the butter around a bit to soften it up, then mix in the powdered sugar until it’s all smooth.
Step 3: Pour in the soy milk and stir it in. Friendly tip, If it looks like it’s separating (which happens!!), just throw in a little spoonful of the rice flour you already measured out. It’ll bring it right back together, no panic necessary.
Step 4: Now dump in all the dry stuff, the rice flour, almond flour, that nice-smelling Earl Grey tea, and the salt. Just mix until you’ve got a single lump of dough.
Step 5: I like to roll this dough between two pieces of plastic wrap. Aim for about 4mm thick. Then get it onto a tray and into the freezer for 30 minutes. Trust me you don’t want to skip this; it makes cutting the shapes so much easier.
Step 6: Okay, once it’s nice and firm, peel off the top plastic layer and cut out your shapes. Lay them on a baking sheet and bake for around 15 minutes. You’re looking for just a little golden color on the edges.
Step 7: You must let these cool down completely. Once they are, it’s time for how to make cookie sandwiches. Just spread some cream cheese on the flat side of one cookie and press another one on top. I like to chill them in the fridge for a few minutes just to help the filling firm up.
What I Love About This Recipe
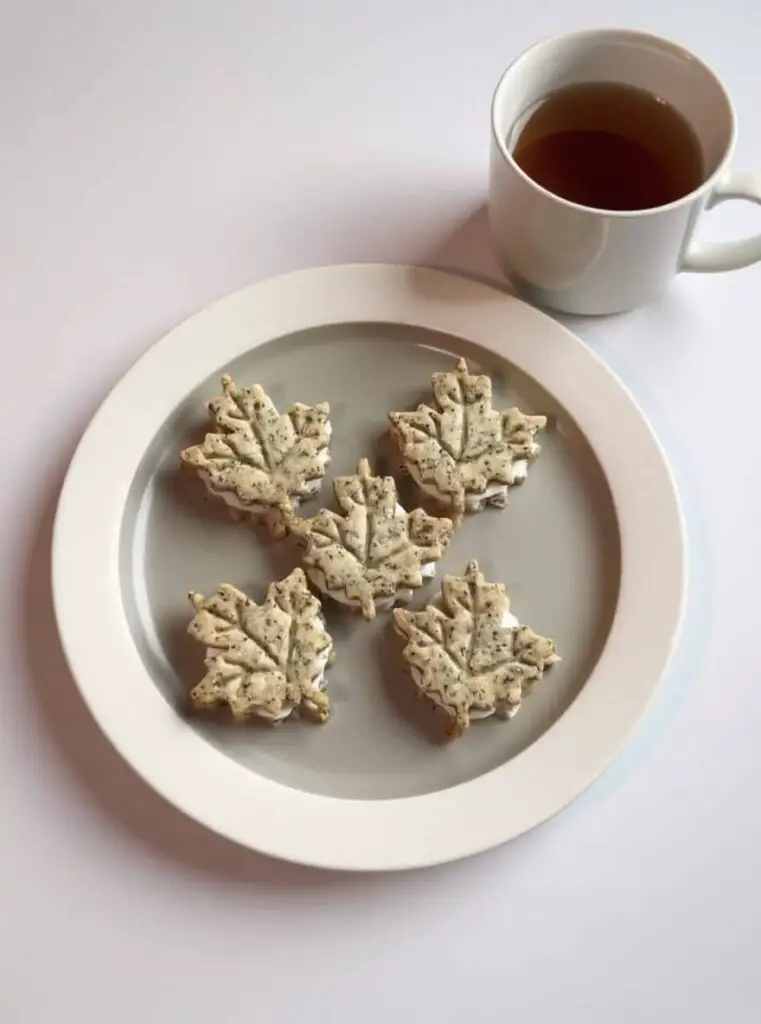
So why am I so hooked on these? It’s the mix of salty, sweet, and that lovely tea scent. The cookie itself is so snappy and crisp, and then you get that cool, tangy cream cheese. It’s just such a good combination. These Earl Grey Cream Cheese Sandwich Cookies are seriously my new favorite. I really hope you give them a try. If you do, please drop a comment and let me know how they turned out for you!

Make the most amazing Earl Grey Cream Cheese Sandwich Cookies! This recipe creates perfectly crispy, buttery cookies (made with rice and almond flour!) infused with fragrant tea and filled with a cool, tangy cream cheese.
Ingredients
- 35g Unsalted Butter, softened
- 10g Powdered Sugar
- 5g Soy Milk
- 35g Rice Flour
- 15g Almond Flour
- 1.5g Earl Grey Tea, finely ground (from one tea bag is perfect)
- 0.3g Salt (a small pinch)
- Approx. 40g Cream Cheese, softened
- 3g Sugar (to mix with cream cheese) "Optional"
Instructions
- Preheat your oven to 160°C (320°F).
- In a medium bowl use a spatula to beat the softened butter until it is smooth. And add the powdered sugar and mix until fully combined.
- Stir in the soy milk. if the mixture looks like it is separating, add one spoonful of the rice flour and mix, it should come back together.
- Add the remaining rice flour, almond flour, ground earl grey tea and salt. And mix with the spatula until the dough just comes together into a ball.
- Put the dough between two sheets of plastic and roll it out until it's about 4 mm thick.
- Move the wrapped dough (still in the plastic) onto a baking sheet and pop it in the freezer for 30 minutes until it firms up.
- Take the dough out of the freezer and peel off the top layer of plastic. Use a cookie cutter to cut out shapes and place them on a baking sheet lined with parchment paper or a silicone mat.
- Bake for 15 minutes, or until the edges turn slightly golden.
- Let the cookies cool completely on a wire rack.
- Once it cools down, spread a little cream cheese (with sugar if you like) on the flat side of one cookie, then put another cookie on top to make a sandwich.
- Pop the sandwich cookies in the fridge for a few minutes so the filling sets before serving.