You know how sometimes you stumble onto something so simple, so game-changing, you wonder how you ever lived without it? That was me and air fryer corn on the cob. For years, summer corn meant either standing over a boiling pot that turned my kitchen into a steam room (ugh) or convincing someone (usually me) to fire up the grill, which felt like way too much effort for a weeknight side.
Then, my air fryer entered the chat. I mostly used it for reheating pizza or making crispy potatoes, but one afternoon, staring at a beautiful pile of fresh corn from the market, I had this “what if…?” moment. Could it actually work? I tossed a couple of ears in, fiddled with the settings (my first batch was… okay, maybe a little too charred!), and then – BAM. Magic.
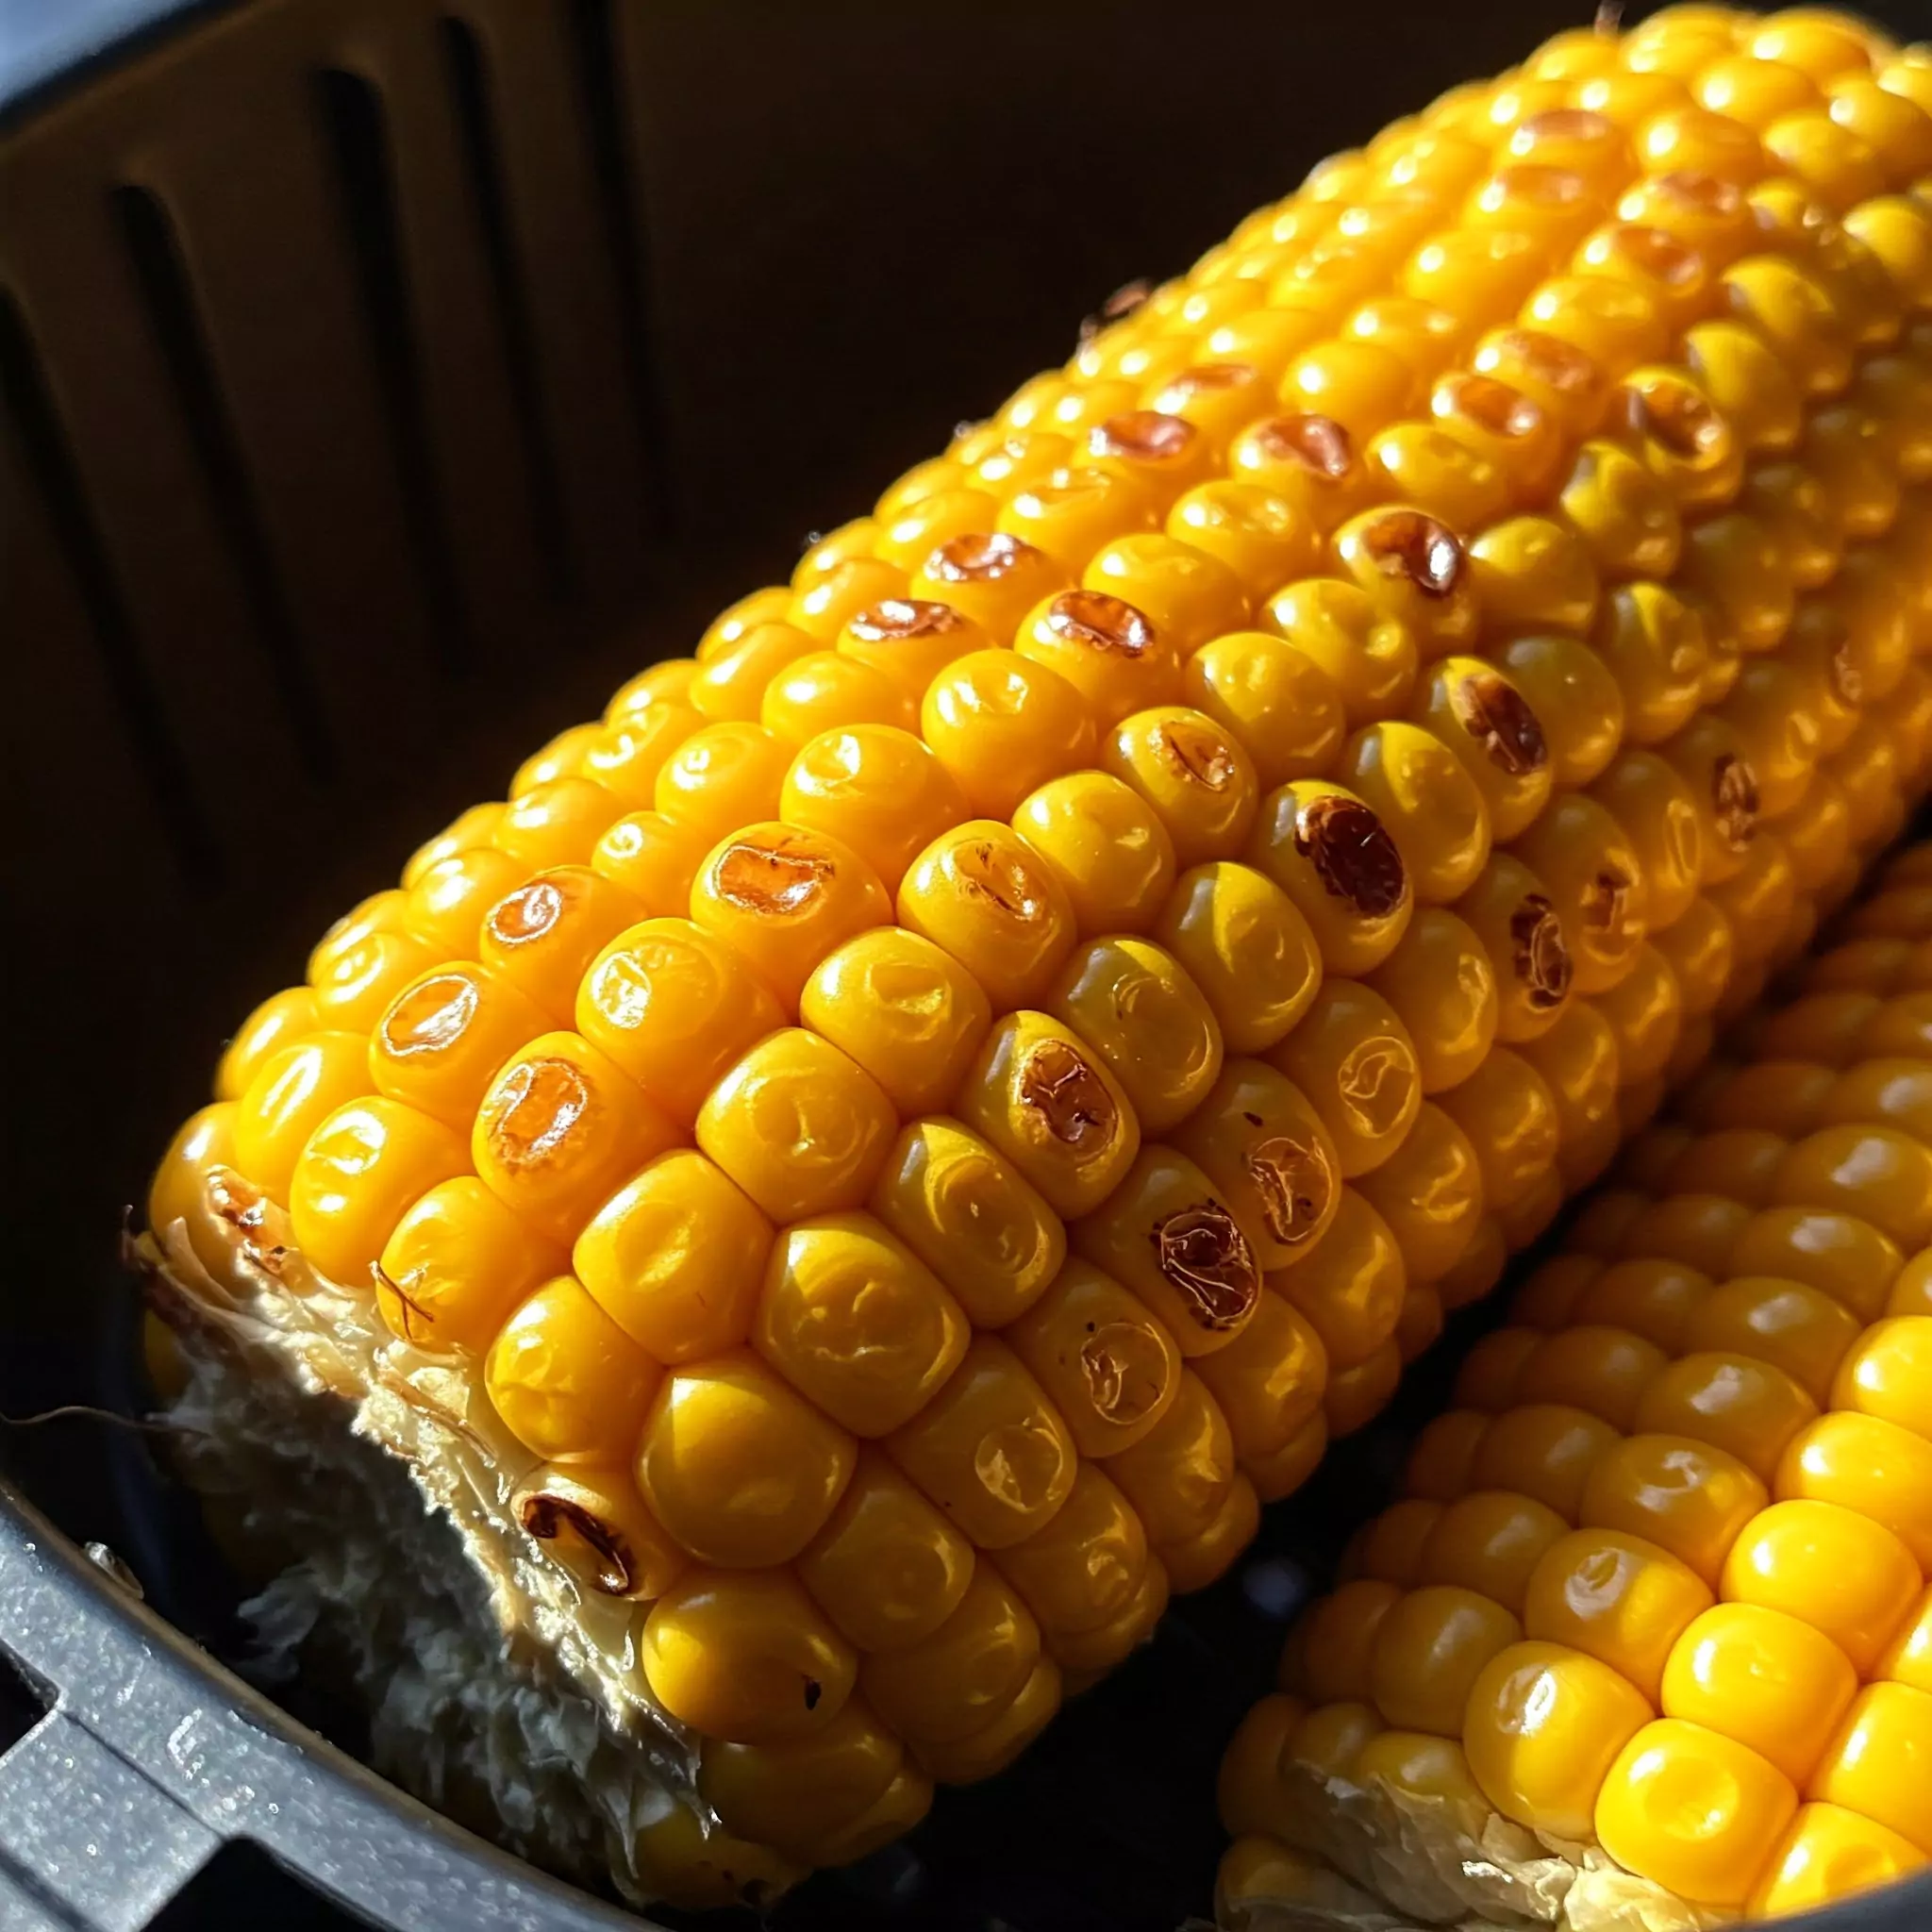
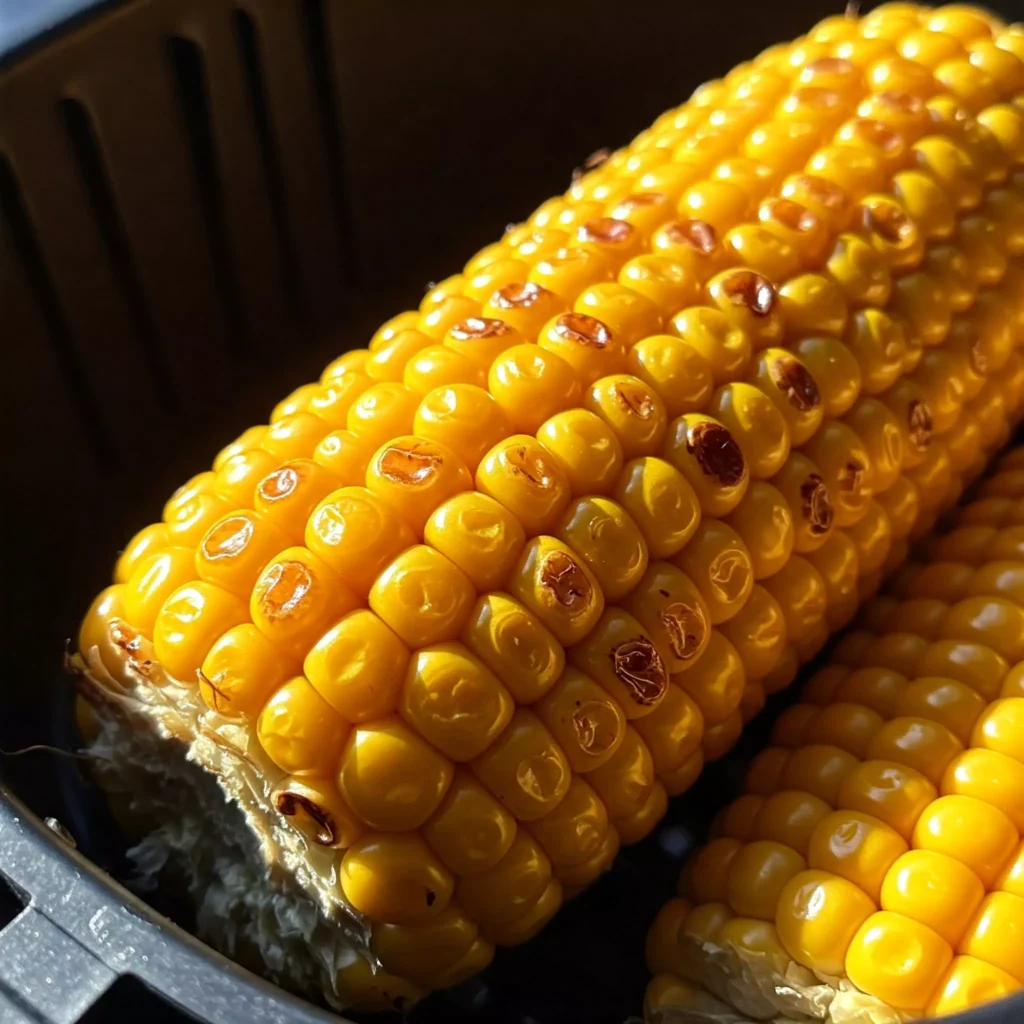
That sweetness! It wasn’t watery like boiled corn; it was concentrated, intense, with these amazing little roasted spots that tasted incredible. After playing around a few more times – maybe five or six tries just to get the timing perfect for my machine, you know how it is – I landed on this method. It’s foolproof. Seriously, it delivers that perfect sweet, crisp-tender, slightly smoky air fryer corn on the cob every single time, and I haven’t looked back since.
What You’ll Need (Spoiler: Not Much!)
Good news! You don’t need a pantry full of fancy stuff. Simple is best here.
- Fresh Corn on the Cob (4 ears): Get the good stuff! Look for bright green husks that feel nice and tight, maybe a little damp. Peek at the kernels if you can – you want plump, not sad and shriveled. Yellow, white, bi-color – whatever looks freshest! Can you use frozen? Yeah, you can, but thaw it completely and pat it super dry first. Just know the texture might be a tad softer than fresh.
- Olive Oil (or your fave oil, about 1-2 tablespoons): A good glug helps it get golden and stops it from sticking. I usually grab olive oil, but avocado or even melted butter works (just watch butter so it doesn’t burn!). Sometimes I use garlic-infused oil if I’m feeling fancy.
- Salt & Pepper (to taste): Don’t skip these! Kosher or sea salt and freshly cracked black pepper make a huge difference. I probably use about 1/2 tsp salt and 1/4 tsp pepper, but you do you.
- (Optional) Fun Seasonings: This is where you can play! Smoked paprika is amazing. Garlic powder is a must for me sometimes. Chili powder for a kick? Go for it! Just sprinkle it on with the salt and pepper.
How Long Does This Magic Take?
This is the best part, especially when you’re hungry now.
- Prep Time: Literally 5 minutes. Shuck, rinse, pat dry, oil, season. Done.
- Cook Time: Around 12-15 minutes. It depends a bit on how big your corn is and your specific air fryer model – you know how they can be a bit different.
- Total Time: You’re munching on amazing air fryer corn on the cob in under 20 minutes. Seriously. Faster than waiting for water to boil, way faster than grilling. Weeknight win!
Okay, Let’s Make Some Killer Air Fryer Corn on the Cob!
Ready? It’s so simple.
Step 1: Get That Corn Naked and Dry
Peel off the husks and get rid of all those annoying silky threads. Give the ears a quick rinse under cold water, then grab some paper towels and pat them really, really dry. Water = steam = not what we want. Dry corn gets crispier!
Step 2: Oil ‘Em Up and Season ‘Em Good
Lay your dry corn on a plate. Drizzle with your oil. Now get in there with your hands (or use a brush if you’re neater than me!) and rub that oil all over each ear. Make sure they’re nicely coated. Sprinkle generously with your salt, pepper, and any other goodies you’re using. Don’t be shy! This is where the flavor comes from.
Step 3: Get That Air Fryer Hot!
Just like your oven, preheating helps! Crank your air fryer up to 200∘C (400∘F) and let it run for 3-5 minutes while you finish seasoning the corn. This helps it cook nice and evenly right from the start.
Step 4: Cook ‘Til Golden and Delicious
Carefully place your seasoned corn in the air fryer basket. Try to keep them in a single layer – don’t cram them in! If they’re squished, they’ll steam. Cook in batches if you need to (it’s worth it!). Set the timer for 12-15 minutes. About halfway through (I usually do it around 7 minutes), give them a flip so they brown all over. You’ll start smelling that amazing roasted corn smell!
Step 5: Check and Serve!
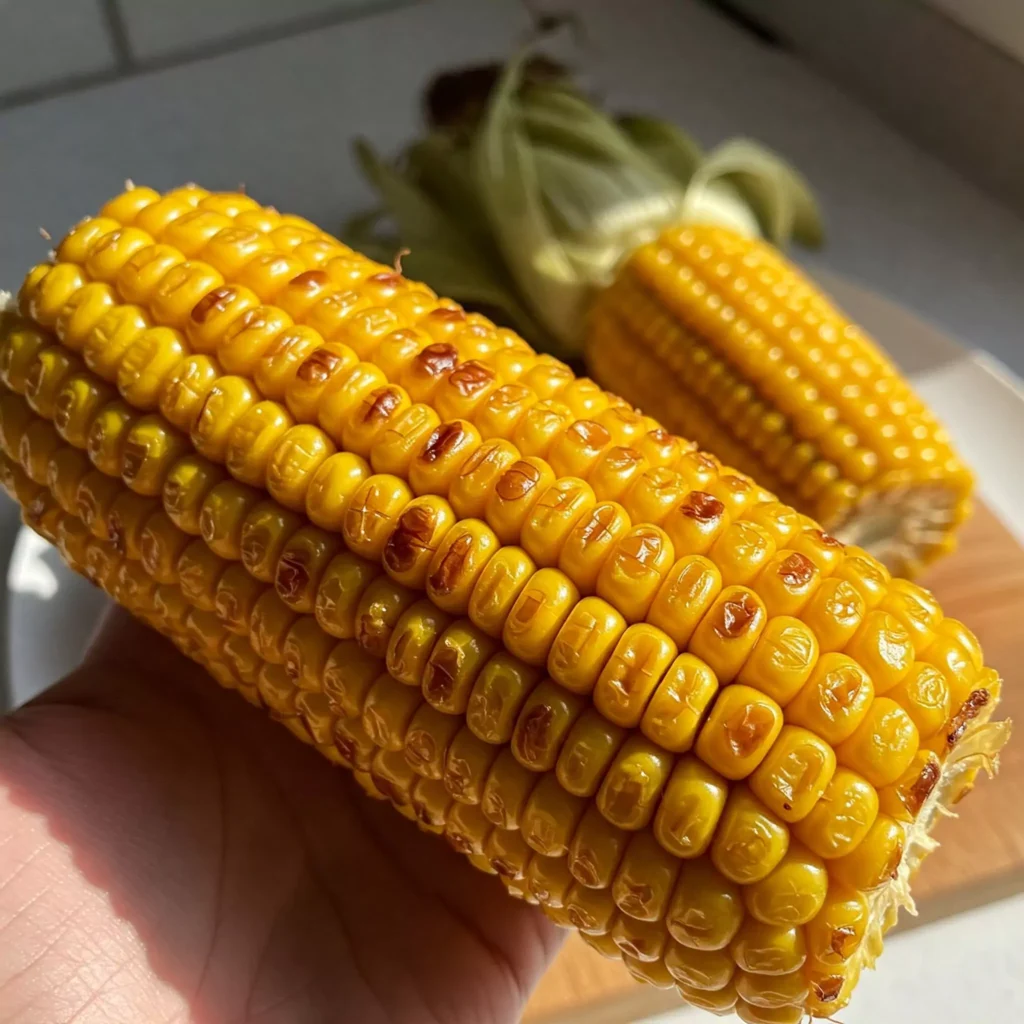
Around the 12-minute mark, peek in. The kernels should look tender and have some nice little brown, maybe even slightly charred, spots. Carefully poke one with a fork – it should go in easily. If it needs another minute or two, let it go. Once it’s perfect, grab those cobs (careful, they’re hot!) and get ready to eat the best air fryer corn on the cob ever.
Recipes You May Like
Ways to Devour Your Delicious Corn
Serving this stuff is half the fun. Sure, plain is great, but…
- Butter & Salt Forever: The timeless classic. A generous smear of butter melting into every kernel, plus more salt and pepper. Can’t beat it.
- My Personal Obsession – Elote Style: Oh man. Slather it with a little mayo, dust with chili powder, crumble over some salty cotija cheese (feta works in a pinch!), squeeze of lime, maybe some cilantro? YES. Just YES.
- Garlic Herb Heaven: Mash up some soft butter with minced garlic and chopped fresh parsley. Spread it on the hot corn. You’re welcome.
- Spicy Lover: Mix a little hot sauce or some smoky paprika and cayenne into melted butter before brushing. Feel that zing!
- The Sidekick: This corn is amazing next to literally anything grilled – chicken, burgers, sausages. Also fantastic with tacos or just a big summer salad.
Got Leftovers? (Yeah, Right!) Here’s How to Store Them
Okay, if you somehow don’t eat it all (teach me your ways!), here’s the deal:
- Cool It: Let the corn cool down completely on the counter first. Storing it hot makes things steamy and weird in the container.
- Wrap It Up: Pop the cooled cobs into an airtight container, or wrap them snugly in plastic wrap.
- Fridge It: They’ll keep in the fridge for 3, maybe 4 days.
- Bring It Back to Life: Want to reheat? The air fryer is your friend again! A few minutes at around 180∘C (350∘F) warms it up and gets it slightly crispy again. Microwaving works too, but it’ll be softer. Still tasty, though!
Seriously, Why You NEED This Air Fryer Corn on the Cob Recipe!
Okay, final thoughts. I know I’ve been gushing, but this method is just that good. It takes corn on the cob from a sometimes-meh side dish to something I actively crave. It’s ridiculously fast, the cleanup is a breeze (no giant pot!), and the flavor is just miles better than boiling. That concentrated sweetness, those toasty bits… it’s incredible.
It’s my secret weapon for easy weeknight dinners, my go-to for BBQs when I don’t want to mess with the grill, and just generally makes me happy. It always impresses people, too!
So, please, for the love of delicious food, try making air fryer corn on the cob this way. Grab some corn this week and do it! Let me know how it goes in the comments – I really want to hear what you think! And tell me your favorite ways to season it up! Happy cooking!

air fryer corn on the cob
The easiest air fryer corn on the cob! Perfectly sweet, roasted kernels in minutes. Get tips for this quick side dish recipe. Try it tonight!
Ingredients
- 4 ears fresh corn on the cob, husks and silk removed
- 1-2 tablespoons olive oil (or your favorite oil)
- 1/2 teaspoon salt (or to your taste)
- 1/4 teaspoon black pepper (or to your taste)
- Optional: Your favorite seasonings like paprika, garlic powder, chili powder
Instructions
Step 1: Get That Corn Naked and Dry
Peel off the husks and get rid of all those annoying silky threads. Give the ears a quick rinse under cold water, then grab some paper towels and pat them really, really dry. Water = steam = not what we want. Dry corn gets crispier!
Step 2: Oil 'Em Up and Season 'Em Good
Lay your dry corn on a plate. Drizzle with your oil. Now get in there with your hands (or use a brush if you're neater than me!) and rub that oil all over each ear. Make sure they're nicely coated. Sprinkle generously with your salt, pepper, and any other goodies you're using. Don't be shy! This is where the flavor comes from.
Step 3: Get That Air Fryer Hot!
Just like your oven, preheating helps! Crank your air fryer up to 200∘C (400∘F) and let it run for 3-5 minutes while you finish seasoning the corn. This helps it cook nice and evenly right from the start.
Step 4: Cook 'Til Golden and Delicious
Carefully place your seasoned corn in the air fryer basket. Try to keep them in a single layer – don't cram them in! If they're squished, they'll steam. Cook in batches if you need to (it's worth it!). Set the timer for 12-15 minutes. About halfway through (I usually do it around 7 minutes), give them a flip so they brown all over. You'll start smelling that amazing roasted corn smell!
Step 5: Check and Serve!
Around the 12-minute mark, peek in. The kernels should look tender and have some nice little brown, maybe even slightly charred, spots. Carefully poke one with a fork – it should go in easily. If it needs another minute or two, let it go. Once it's perfect, grab those cobs (careful, they're hot!) and get ready to eat the best air fryer corn on the cob ever.