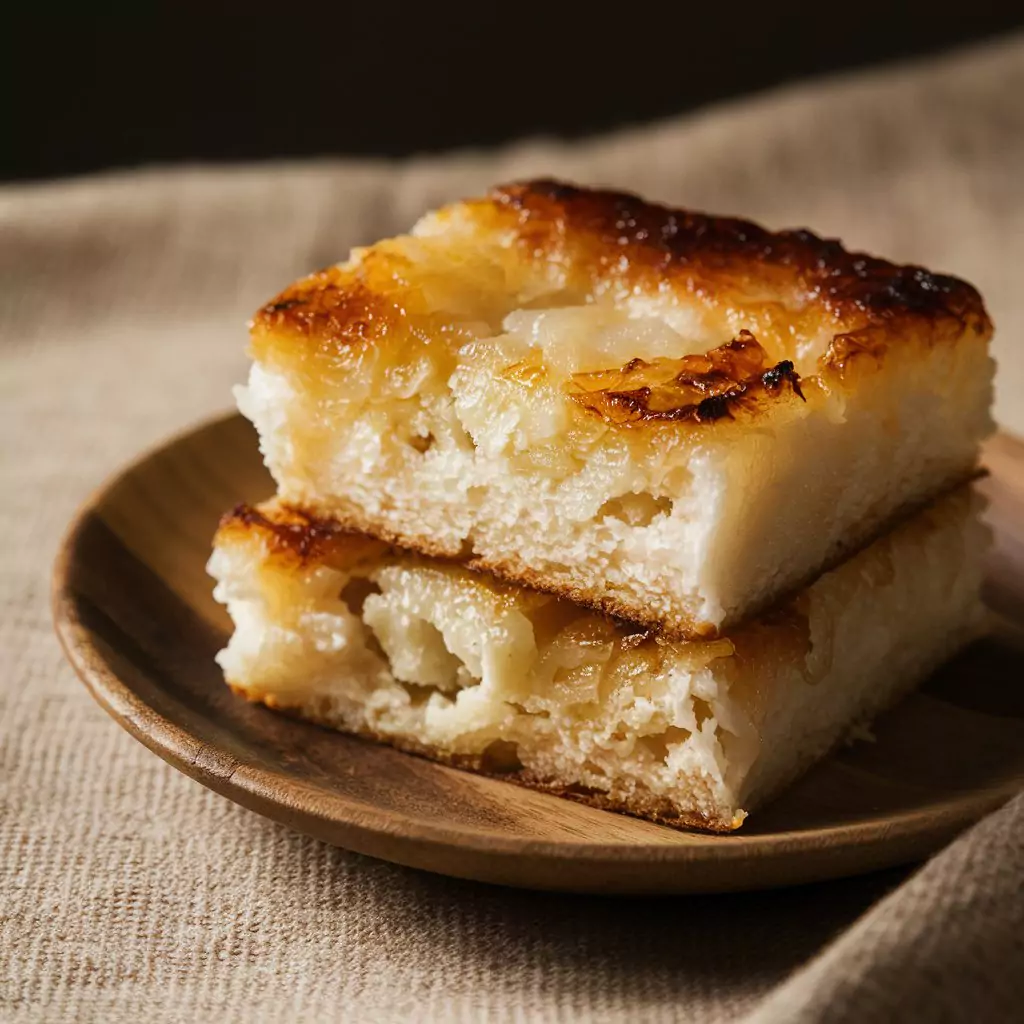
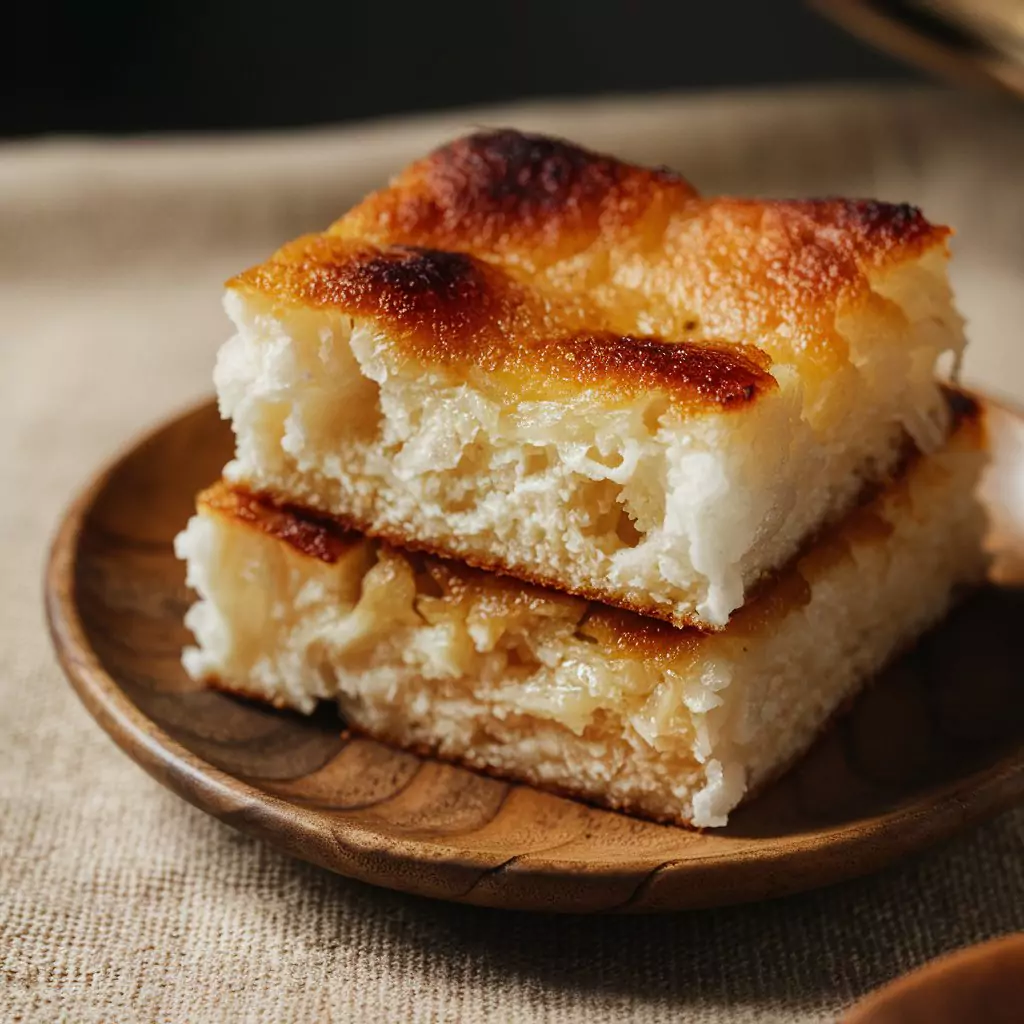
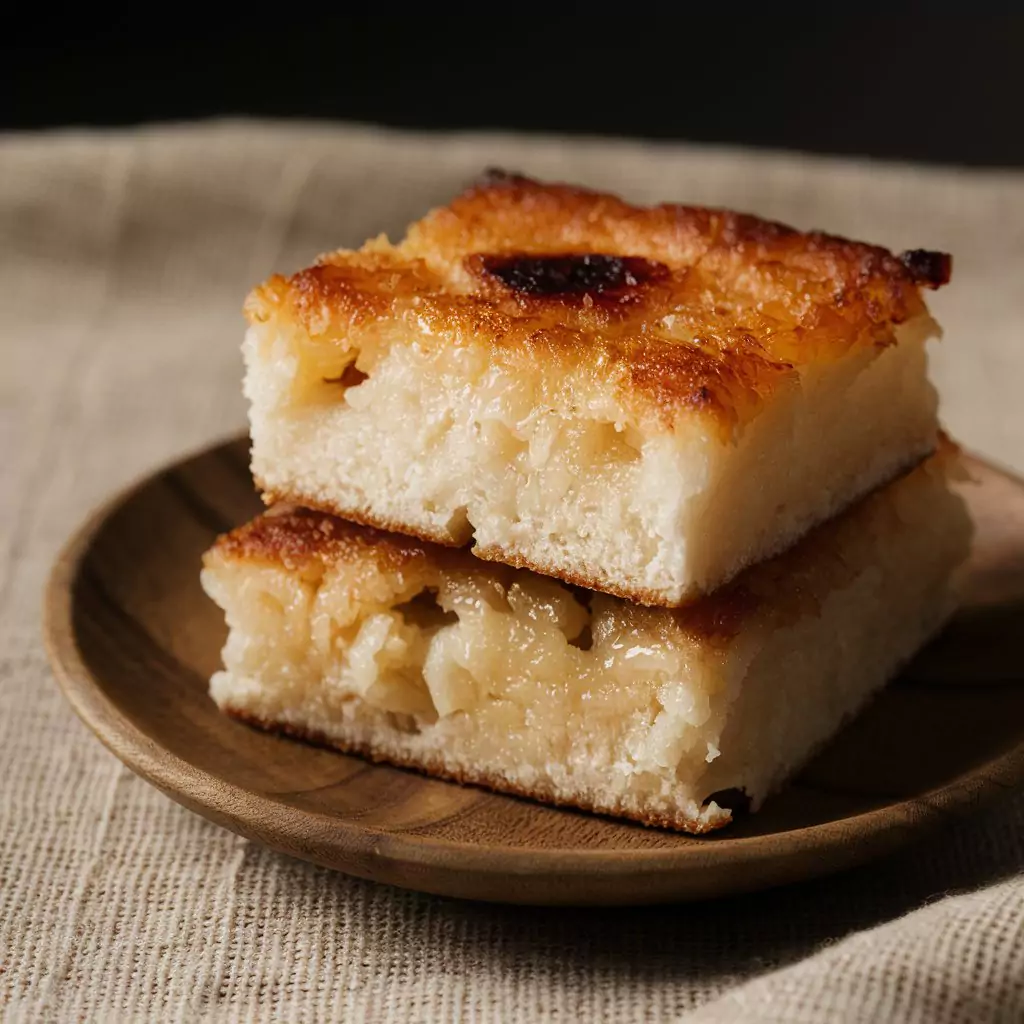
Okay, seriously, I have to make this thing I’ve been loving lately. It’s called sticky coconut cake, or wingko bapat if you want to sound fancy Indonesian (and it’s honestly fun!). But forget the name for a moment and picture this: You bite into something warm, with a strong coconut flavor, maybe even a hint of caramel around the edges… and it’s chewy. Not fluffy like a cake, but perfectly chewy and satisfying. Imagine the best parts of the macarons and mochi all cooked to perfection? It’s soooo good.
And the kicker? It’s accidentally gluten-free! Which is awesome because it doesn’t taste gluten-free, you know? It just tastes amazing. Plus, I swear, it looks way more complicated than it is. If you can basically stir stuff in a bowl, you’ve got this. Promise. It’s become my go-to when I want something sweet that feels a bit special but doesn’t require, like, effort effort. Perfect weekend baking project, or honestly, a Tuesday night pick-me-up. Why not?
It takes about 15 minutes to prepare the dough, and 30 minutes in the oven… the hardest part is waiting for it to cool! You’ll get about 8 slices of it, depending on the generosity of your knife, haha.
So, what magic makes this chewy goodness happen?
It’s mostly stuff you might even have, or can easily grab. Here’s the scoop:
- Coconut: Well, fresh shredded coconut (about 2 cups) is the best option here. It adds amazing flavor and moisture. But let’s be real, finding it easily in the US can vary depending on where you live. So, don’t worry! Unsweetened desiccated coconut works great. The solution? You need to rehydrate it. Pour a little warm water over it in a bowl, let it sit for 10 minutes, then take handfuls and squeeze out the water. Squeeze it out really well! It will make a world of difference, trust me.
- The Chewy Secret: This is glutinous rice flour (you need 1 1/2 cups). Sounds weird i know! “Glutinous” only refers to its sticky texture when cooked, it doesn’t contain gluten. It’s the stuff mochi is made from. Don’t try using regular rice flour or all-purpose flour, it will be crumbly and disappointing. and look for bags labeled “glutinous rice flour” or “sweet rice flour” usually at Asian markets or in the international foods section. It’s worth the search!
- Creaminess: A can of full-fat Coconut Milk (1 cup). Don’t go light here, you want that richness!
- Sweetness: Just plain old Sugar (¾ cup). Regular white sugar is perfect.
- Binder: Two large Eggs. Standard stuff.
- Flavor Boosters: A teaspoon of Vanilla Extract (always!) and like a ¼ teaspoon of Salt. Don’t skip the salt! It sounds tiny, but it makes the coconut and sugar flavours pop like crazy. Seriously.
See? Nothing terrifying!
Okay, Let’s Actually Make This Thing!
Alright, put on some music, relax, this is gonna be fun and easy.
- Get Your Ducks in a Row: First deal with your coconut (grate it or do the soak-and-squeeze). Get that oven heating up – 350°F (175°C). Find a round pan, 8 or 9 inches is good. Grease it like you mean it, and slap some parchment paper on the bottom circle. Seriously, parchment is your best friend for getting sticky things out of pans!
- Wet Ingredients Party: Grab a decent sized bowl. crack in the 2 eggs and dump in the ¾ cup sugar and the 1 tsp vanilla, and the ¼ tsp salt. Whisk it all up! Doesn’t need to be super foamy, just get it smooth and happy. Now sloooowly pour in that 1 cup of coconut milk while you keep whisking gently. Mmm, looks kinda like thin pancake batter now, right?
- Dry Ingredients Meetup: In another bowl, sift the 1 ½ cups glutinous rice flour – just helps get rid of any annoying little clumps. Then toss in your 2 cups of prepped coconut. Give it a little mix with your hands or a spoon just so the coconut gets kinda coated.
- Combine! Okaay now pour the wet stuff into the bowl with the flour/coconut mixture. Switch to a spatula or wooden spoon. Gently fold and stir everything together. You wanna stop mixing right when you don’t see big streaks of dry flour anymore. Don’t go crazy here! Overmixing = tough cake. We want chewy! The batter will look thick and kinda nubbly from all that glorious coconut. That’s perfect!
- Bake Time! Pour/scrape that lovely batter into the pan you greased earlier. Spread it out kinda evenly – it won’t level itself perfectly, so give it a little nudge. Okay, into the hot oven it goes! Set a timer for 25 minutes to start. You’re looking for it to get lovely and golden brown around the edges and maybe pulling away from the sides of the pan just a tiny bit. The top should look set. After 25 mins do the toothpick test poke it right in the center. If it comes out clean (no wet batter), it’s done! If not, give it another 3-5 minutes and check again. Mine usually takes the full 30 mins.
- The Agony of Waiting: Seriously, this is the hardest step. Take the pan out of the oven (use oven mitts, duh!) and put it on a wire rack. Now… walk away. Go do something else. You need to let this Sticky Coconut Cake cool COMPLETELY. Like, room temperature cool. I know, it smells ridiculously good and you wanna dive in, but cutting it warm will be a sticky mess and the texture won’t be quite right yet. Patience pays off, I promise! Once it’s totally cool, you can run a knife around the edge and lift it out using the parchment paper sling (if you made one), or just carefully slice it in the pan. Wedges are traditional and cute!
Quick little bonus tip: If you wanna make it look extra special and add just a tiny bit more richness, you can brush the top very lightly with some melted butter or coconut oil literally the second it comes out of the oven. It gives it a nice sheen!
Now What? Eating, Sharing, Saving (Yeah Right!)
Okay, you did it! Grab a slice (or two). It’s amazing just as is, maybe slightly warm or at room temp. That chewiness… sigh. It’s just SO good.
If you wanna get fancy:
- Toasted coconut flakes on top? Gorgeous.
- Little drizzle of honey? Delicious.
- Warm slice with vanilla ice cream? Oh stop it, that’s just divine.
Leftovers? Ha! Okay, if you have superhuman willpower:
- Airtight container on the counter is fine for a day or two.
- Fridge makes it last longer (maybe 4-5 days), but it does get firmer. Let it sit out for a bit before eating!
- Yep, freezes like a dream! Wrap slices tight, pop in a bag. Thaw in the fridge. Instant gratification later!
Feel free to mess with it a bit, too! Add a pinch of cinnamon maybe? Try a flax egg if you’re vegan? Have fun!
Honestly, I just really hope you try making this Sticky Coconut Cake. It’s one of those simple, unpretentious recipes that just delivers pure, chewy, coconutty happiness. It makes the house smell incredible, it tastes amazing, and it makes people smile. What more could you ask for? Go on give it a go! Let me know how it turns out Happy baking!
Recipes You May Like
Sticky Coconut Cake

Enjoy this chewy, gluten-free Sticky Coconut Cake (Wingko Babat)! An easy Indonesian dessert with rich coconut flavor.
Ingredients
- 2 cups fresh shredded coconut or unsweetened desiccated coconut (rehydrated)
- 1 1/2 cups glutinous rice flour
- 1 cup full-fat coconut milk
- ¾ cup sugar
- 2 large eggs
- 1 teaspoon vanilla extract
- ¼ teaspoon salt
- Warm water (if using desiccated coconut for rehydration)
Instructions
- Get Your Ducks in a Row: First deal with your coconut (grate it or do the soak-and-squeeze). Get that oven heating up – 350°F (175°C). Find a round pan, 8 or 9 inches is good. Grease it like you mean it, and slap some parchment paper on the bottom circle. Seriously, parchment is your best friend for getting sticky things out of pans!
- Wet Ingredients Party: Grab a decent sized bowl. crack in the 2 eggs and dump in the ¾ cup sugar and the 1 tsp vanilla, and the ¼ tsp salt. Whisk it all up! Doesn’t need to be super foamy, just get it smooth and happy. Now sloooowly pour in that 1 cup of coconut milk while you keep whisking gently. Mmm, looks kinda like thin pancake batter now, right?
- Dry Ingredients Meetup: In another bowl, sift the 1 ½ cups glutinous rice flour – just helps get rid of any annoying little clumps. Then toss in your 2 cups of prepped coconut. Give it a little mix with your hands or a spoon just so the coconut gets kinda coated.
- Combine! Okaay now pour the wet stuff into the bowl with the flour/coconut mixture. Switch to a spatula or wooden spoon. Gently fold and stir everything together. You wanna stop mixing right when you don’t see big streaks of dry flour anymore. Don’t go crazy here! Overmixing = tough cake. We want chewy! The batter will look thick and kinda nubbly from all that glorious coconut. That’s perfect!
- Bake Time! Pour/scrape that lovely batter into the pan you greased earlier. Spread it out kinda evenly – it won’t level itself perfectly, so give it a little nudge. Okay, into the hot oven it goes! Set a timer for 25 minutes to start. You’re looking for it to get lovely and golden brown around the edges and maybe pulling away from the sides of the pan just a tiny bit. The top should look set. After 25 mins do the toothpick test poke it right in the center. If it comes out clean (no wet batter), it’s done! If not, give it another 3-5 minutes and check again. Mine usually takes the full 30 mins.
- The Agony of Waiting: Seriously, this is the hardest step. Take the pan out of the oven (use oven mitts, duh!) and put it on a wire rack. Now… walk away. Go do something else. You need to let this Sticky Coconut Cake cool COMPLETELY. Like, room temperature cool. I know, it smells ridiculously good and you wanna dive in, but cutting it warm will be a sticky mess and the texture won’t be quite right yet. Patience pays off, I promise! Once it’s totally cool, you can run a knife around the edge and lift it out using the parchment paper sling (if you made one), or just carefully slice it in the pan. Wedges are traditional and cute!